Last updated November 18, 2026



Free written scope consultation - allowances, timeline, and change-order rules on paper before a single trade is scheduled
DIY vs Professional Windows & Doors: What’s Safe to Do Yourself
A window that’s 1/8 inch out of plumb looks fine to your eye. You’ll walk past it for two years without noticing. But inside the frame, that small twist is racking the whole assembly, and the weather seal that came with the unit is quietly working against a house settling in one direction while the window pushes in another. By year three, the seal warranty is void and the unit is leaking air at roughly twice the rate a properly set window would. Buena Park’s mix of older 1950s ranches near the downtown core and newer infill builds off Beach Boulevard both run into this because of sideyard proximity and constant coastal air pressure. That gap between “looks finished” and “is actually correct” is what this guide is about.
Quick Answer
Hardware swaps, weatherstripping, painting, and screen repairs are safe for a careful homeowner. Full window or door replacement is not a good DIY project because the expensive failure modes (flashing, rough opening prep, frame plumb, correct shimming for a security-rated strike plate) are invisible right after the job. In Buena Park, most full replacements also trigger a building permit, which pulls licensed professional work into the picture.
Styles & brands we work with
- Kitchen remodeling
- Bathroom remodeling
- Home additions & ADU
- Roofing
- Windows & doors
- Driveway & pavers
- Fence
Table of Contents
- What’s Actually Safe to Do Yourself
- The Rough Opening Problem: Why DIYers Underexecute It
- Flashing: Where Water Damage Hides for Years
- Buena Park Permits: What Triggers Them and Why It Matters at Sale
- Door Frame Shimming and Security: The Lock Failure You Can’t See Coming
- The Real Labor Cost Comparison
- Retrofit Inserts vs Full Replacement
- Common Mistakes to Avoid
- When to Call a Professional
What’s Actually Safe to Do Yourself
The tasks below don’t touch the weather envelope or the structural opening. If something goes sideways, the only cost is your Saturday and a trip to the hardware store. That’s the right dividing line for any homeowner project, in Buena Park or anywhere else.
Safe for a careful homeowner:
- Hardware replacement on existing windows (crank operators, casement handles, single-hung latches, screen splines). A worn-out crank on a slider in a condo near Knott’s Berry Farm is a 20-minute swap with a screwdriver.
- Weatherstripping swaps on doors. A door that whistles along the bottom seal during Santa Ana winds usually just needs new foam or a new door shoe. No cutting, no drilling into the frame.
- Interior trim painting and touch-up. Nothing structural, everything cosmetic. A coat of paint over a scuffed interior casing does not violate any warranty.
- Screen repair and re-spline. Pop out the screen, cut new mesh, roll the spline back in. Simple, cheap, and honestly kind of satisfying.
- Lock and deadbolt swaps where the door is already cut for the same size (like replacing a tired $20 builder-grade deadbolt with a proper Grade-2 unit on the same footprint).
- Caulking around the exterior face trim. Not the frame-to-wall joint on a newly installed unit, but the seam between casing and siding after the install is complete and inspected.
- Weather sensor replacement and threshold adjusters on sliding doors that drag or let dust in.
These are all reversible. None of them risk the structural opening, the flashing, or the warranty. And if you’re comfortable taking apart a bicycle or replacing a faucet, they’re within reach.
What Is Not a DIY Project
Full unit replacement (removing the whole window or door out of the rough opening, installing the new unit, flashing it, and finishing it). Any job that requires cutting new framing. Any door that involves cutting a new rough opening in an exterior wall. Anything where a permit is required. Rough-opening prep and exterior flashing are the two steps most often done wrong on DIY window installs, and they’re both completely invisible once the trim goes back up.
The Rough Opening Problem: Why DIYers Underexecute It
The rough opening is the framed rectangle in the wall where the new window sits. It lives on every existing house in Buena Park, even the older Spanish-revival stock off Commonwealth and Crescent. Here’s why DIY work tends to fail there.
It looks fine but isn’t square. A rough opening that’s out of square by 1/4 inch across a 4-foot window doesn’t look wrong when you slide the new unit in. The unit goes in. It screws down. The trim covers the gap. But the sash is now under constant tension because the frame is being racked by a twist that the weather seal was never designed for. The customer sees a good-looking install and finds out about the leak three winters later.
The sill needs actual slope. The bottom of the rough opening has to shed water to the exterior, not sit perfectly level. New units have drain ports that only work if the sill behind them slopes the right direction. If the sill is level or, worse, back-sloped by a few degrees because the framer got lazy or the house has settled, water backs up toward the interior wall plate.
Sub-sill shim placement. Windows sit on continuous shim supports at the bottom corners, not on a couple of random cedar shims from the box. A window that’s supported only at the middle has a sagging sill line and a lock that doesn’t align by year four.
Backer rod depth and shim contact. Spray foam isn’t structural. If the unit is floating in the opening and the foam is doing the work, the frame flexes every time the door or window cycles with the weather. That flex is what eventually kills a seal.
We’ve seen rough openings that had been sitting in a Buena Park wall since before the 5 Freeway went in, and the ones that age well are the ones where a competent installer spent 90 minutes prepping the opening for a 30-minute install. The prep is where the quality lives.
Flashing: Where Water Damage Hides for Years
Flashing is the thin layers of tape, membrane, and metal that route water out of the wall and back to the outside. It’s a five-dollar item on a four-figure installation, and it’s the single most-skipped step in DIY window work because the trim usually covers it completely. You can’t tell a properly flashed job from a badly flashed one by looking at the finished product.
What a correct flashing sequence looks like (this is one of the numbered steps to reference):
- Sill pan first. A sill pan (or self-adhering flashing tape pitched forward) goes in before the window. That’s the base of the water-shedding system.
- Window set and shimmed. Unit goes in level and plumb, supported at corners, locked down.
- Side flashing. Tape runs up the jambs past the frame and overlaps the sill pan by at least 2 inches.
- Head flashing last. The top tape tucks under the wall’s weather-resistive barrier and over the window flange, so water runs down over the flanges, not behind them.
- Jamb tape pressed and rolled. Not smacked with a hammer. Rolled with a roller. Adhesive performance drops if the tape isn’t rolled properly.
What failure looks like. Six to twelve months after a bad flashing job, you get water stains on the interior drywall near the window head (the classic tell). Two to three years in, you get soft stucco or drywall around the frame, especially on south and west-facing windows in Buena Park where the Santa Ana winds drive rain sideways. Five years in, you’re looking at sheathing replacement, which is the kind of project that turns “I saved $800 doing it myself” into an $8,000 repair. Window and door work is only as good as what’s behind it.
The Air Seal Nobody Tests
Even a properly flashed job can leak air if the sealant bead around the interior face is broken by settling. Buena Park homes on clay-heavy soil, mainly the older streets near the Buena Park Civic Center and the Los Coyotes area, settle and swell with the seasons. Every year you get a little movement at the joint. A pro will come back and re-caulk during warranty. A DIY homeowner usually doesn’t know to look until the draft is obvious. If you want to see the rest of how we approach the outer envelope of a home, our work on full-scope construction in Buena Park gives you the picture of where windows and doors fit into the whole.
Buena Park Permits: What Triggers Them and Why It Matters at Sale
Any time you cut the wall, remove framing, or replace the whole window unit (not just a glass retrofit), you’re usually pulling a permit. The point is that the project has to be inspected so the city knows the opening was flashed, the header is sized right, and the fire-rating or safety-glazing requirements are met.
What typically triggers a permit:
- Full frame replacement (removing the whole unit out of the rough opening)
- Adding a new window or door to an exterior wall
- Any change to the size of an existing opening
- Converting a window to a door (or the reverse)
- Replacement of a door that serves as an egress path
What usually doesn’t: glass-only replacement in existing frames (retrofit inserts, “pocket” style), hardware swaps, weatherstripping, painting, and screen work.
Why This Matters at Sale
Unpermitted window work becomes a problem, not when you do the work, but when you sell. The buyer’s inspector flags the unpermitted work, the buyer asks for a credit or the work to be brought up to code retroactively, and you’re now paying a premium to open up finished walls that were “working fine.” Buena Park real estate turnover has been steady, and a seller who can produce a clean permit history for window and door replacements is worth more to a buyer than one who can’t. You don’t want to be the homeowner whose window replacement is holding up a sale.
Permit costs themselves aren’t the issue (they typically run in the low hundreds per opening, plus a plan check fee on larger jobs). The issue is the pile of unpermitted work that has to be corrected at the worst possible moment. A permit pulls the professional work into the fold and gives you a paper trail the sale can survive.
Door Frame Shimming and Security: The Lock Failure You Can’t See Coming
The lock on your front door works because the deadbolt passes through the door, into a strike plate, and into a reinforcement plate in the wall’s framing (or into the jamb itself). The security of that connection doesn’t come from the lock. It comes from whether the jamb behind the strike plate has adequate support and whether the shimming of the door frame is holding that support in the correct position under load.
A door that was shimmed lightly at installation, or shimmed with drywall shims instead of solid wood shims, or shimmed only at the top and bottom (not behind the strike plate), has a jamb that moves a fraction of an inch every time the door slams. That fraction of an inch grows. One day, the deadbolt doesn’t seat in the strike plate anymore, the door swings 1/4 inch off, and the lock stops working under stress. This is the failure that only shows up when someone actually pushes on the door.
What correct shimming looks like:
- Solid shims are placed behind the hinge side, behind the strike plate side, and behind the deadbolt strike (three points, minimum).
- Each shim stack is glued or nailed so it can’t walk out over time.
- The jamb is set so the deadbolt enters the strike plate with the door barely touching the weatherstripping (no pressure, no gap).
- The frame is checked for plumb on both sides before the casing goes on, not just at the top.
- The strike plate is reinforced with a proper 3-inch screw into the wall’s framing studs, not just through the jamb drywall.
This is why we treat front door installation as a security job, not a carpentry job. The lock is the cheap part; the frame is where the strength lives. A properly shimmed and reinforced door in a Buena Park home can take the kind of force a skilled carpenter is willing to apply to it. A door shimmed with two drywall shims and a #8 screw through the jamb cannot. And this is exactly the kind of invisible variable you find out about the wrong way.
When we install doors, the door frame gets the same attention we’d give a framed wall. If you’re already thinking about the other exterior hardscape and fencing on your property, our fence installation work in Buena Park follows the same principle: the parts you can’t see hold the parts you can.
The Real Labor Cost Comparison
Here’s where the honest math gets uncomfortable for DIY. A window that costs $600 at the box store and takes a careful homeowner a full Saturday to install isn’t really a $600 window. It’s a $600 window plus a lost Saturday plus whatever the repair bill turns out to be if the flashing is wrong. And the repair bill can be five to twenty times the unit cost.
What the professional markup actually buys:
| Item | What It Covers | Rough Order of Cost Impact |
|---|---|---|
| Labor | Prep, install, flashing, weather sealing, trim | The visible number |
| Liability insurance | Covers damage to your home, injuries, and mistakes | $0 to you. Not trivial on the contractor’s side. |
| Workmanship warranty | Backs the flashing, shimming, and weather seal for a set period | Only as good as the company behind it |
| Manufacturer warranty preservation | Bad install can void the unit’s seal warranty | Potentially the full cost of the unit years later |
| Permit and inspection | Protects your sale and corrects code issues retroactively | Low hundreds per opening on average |
| Callbacks and re-work | Fixing anything that doesn’t hold | Covered by the warranty |
Add up the warranty preservation and the permit coverage and you start to see why the markup isn’t just margin. It’s the cost of not being on the hook for the part that fails three years later. Our home additions and ADU work in Buena Park follows the same logic: the exterior opening is the same set of steps whether it’s a new door on an ADU or a window replacement on a 1960s ranch.
Warranty Dynamics Nobody Explains
Manufacturer window warranties typically cover defects in materials, not installation flaws. That means if the seal fails because the frame was racked, the manufacturer can reasonably decline the claim. If a properly licensed install does the work and the seal fails anyway, you have two warranty paths: the manufacturer (for the unit) and the installer (for the workmanship). Both are live. That’s the entire reason a professional install is worth more than the labor line suggests.
On top of manufacturer protection: our 730-Day Done Right Promise covers the workmanship for two full years, and if something we installed isn’t right, we come back and make it right. No fine print, no short conditional window. That’s the level of backing windows and doors deserve, and it’s the piece most DIY installs simply don’t have.
Retrofit Inserts vs Full Replacement
Retrofit inserts (also called pocket replacements) slip into the existing frame without disturbing the rough opening. That’s a lower-skill install and one of the few categories where a very capable DIY homeowner can sometimes do acceptable work. But there’s a catch.
- Inserts don’t fix a bad rough opening. If the original frame is out of square, the insert inherits the problem. The new unit might look better than the old one and perform worse.
- Inserts shrink visible glass area. Every insert loses a half-inch to an inch around the perimeter, which is noticeable on smaller bedroom windows common in Buena Park’s mid-century homes.
- Energy performance depends on the original frame. An insert installed over a rotted or under-flashed frame is weather-tight in appearance only. The water damage that was there before is still there.
- Not all units qualify. If the existing frame doesn’t have a large enough interior pocket, the insert won’t fit and you’re back to a full replacement.
Full replacement is what happens when the frame itself is the problem. It usually is on any home over 30 years old that’s never had the windows touched. It’s the more invasive job and the one where DIY gets most costly. If you’re replacing the windows as part of a bigger envelope upgrade, our driveway and paver work in Buena Park is the other place where “the part you can’t see” governs whether the finished job holds up.
The window industry has produced two parts. On our end, the brands we build around (James Hardie trim, KraftMaid interior built-ins, and a curated set of window manufacturers) are chosen for whether they honor their warranties when installed correctly. The product is only as good as the install. Nothing more, nothing less.
Common Mistakes to Avoid
- Skipping the sill pan. Water has to have somewhere to go. If the rough opening sill isn’t pitched to the outside and taped, the water goes inside, usually behind the drywall where you don’t see it until the frame is already soft.
- Leveling the window with the old window as reference. The old one came out because it was failing. Don’t make the new one conform to a failing reference.
- Setting the window on two shims instead of continuous support. Corner-only or midpoint-only support bows the frame and eventually kills the sash operation. Continuous shim support at the bottom corners, not the middle.
- Shimming the door frame but not behind the strike plate. The lock will work for a while and then stop working under stress. That’s a security failure you only find out about the wrong way.
- Not pulling permits for full-frame replacement in Buena Park. The moment you sell, the buyer’s inspection finds it. Retroactive permitting costs more and finishes worse than doing it right.
- Sealing the exterior with the wrong caulk. Buena Park sits close enough to the coast that the marine layer and UV cycling will chew through cheap latex caulk in a couple of seasons. Window installers use exterior-grade sealant rated for the movement of a window unit, not interior caulk.
- Ignoring a hump in the header. A wall header that’s bowed even 1/8 inch means the new window or door won’t sit plumb. Very common on older Buena Park ranches and on any home that’s had an unpermitted addition in its past.
When to Call a Professional
Call a licensed professional for any of the following: full window or door replacement (any unit coming all the way out of the rough opening), any new opening cut into an exterior wall, any project where a permit is required, any door where the strike plate and deadbolt are failing under stress, and any replacement where you can feel air movement around the old frame before you even remove it. Those are the jobs where doing it yourself quietly costs you the things you can’t see until much later.
If you’re in Buena Park and you’re weighing the DIY vs. professional window and door question for a real project, we’d rather you call and get a straight number than guess and find out the hard way. Groundwork Construction Co. of Buena Park offers free estimates in Buena Park – call (833) 522-5059. We show up with upfront pricing, we pull the permits, and our 730-Day Done Right Promise is real.
Frequently Asked Questions
You keep the manufacturer’s materials warranty on the unit, but manufacturers typically exclude installation flaws and can decline a seal claim if the frame was racked or improperly flashed. A DIY install leaves you with no workmanship warranty. A professional install keeps both warranty paths live.
Full frame replacement (removing the whole unit out of the rough opening) usually requires a permit, plus a plan check on larger jobs. Retrofit inserts and glass-only replacement typically do not. Anything that changes the opening size or adds a new opening definitely requires one. Call (833) 522-5059 and we’ll tell you what your specific project needs.
Most standard-sized replacement units are a one-visit install, with the exact count depending on how many you’re doing and whether the rough openings need repair. Larger jobs and any job that turns up rot or structural issues behind the wall stretch into a second visit. The estimate spells out the schedule before we start.
The jamb has shifted because the shimming behind the strike plate wasn’t solid or the home has settled. The door itself is usually fine; the frame is the moving part. A pro can re-shim and reinforce the strike without replacing the door. Call (833) 522-5059 for a look and a free estimate.
If the job is a true retrofit insert and the existing frame is plumb and dry, sometimes. For full removal, the flashing and rough opening steps are where DIY savings get erased by repair costs years later. The 1/8-inch out-of-plumb problem doesn’t show up in the first month; it shows up in year three. That’s the part most homeowners don’t price into the DIY math.
Interior door swaps (bedroom door, closet door, bathroom door) generally don’t require a permit unless you’re changing the opening size or adding a new opening in a wall. Exterior doors that serve as an egress path often do. Call us and we’ll tell you which bucket your project is in.
The Bottom Line

Window and door work splits cleanly into two categories. Hardware, weatherstripping, painting, and screen repair are safe DIY projects and worth doing yourself. Full window or door replacement is not, because the two most important steps (rough opening prep and flashing) are the two you can’t see when the job is finished, and the two that cause the expensive problems three years later. On top of that, full replacement in Buena Park usually requires a permit, and unpermitted work that comes up at sale costs more to fix than to do right the first time.
The professional markup isn’t just a labor line. It’s the warranty, the liability coverage, the permits, and the install quality that keeps a seal warranty live for the life of the unit. If you’re weighing the trade-off for a project at your house, the honest answer is to get a real number for the professional scope and compare it against what the DIY path will actually cost you in hidden risk. That’s the only fair comparison. And if the answer is “call the pro,” the pro here is a phone call away.
Groundwork Construction Co. of Buena Park answers our phones with a live person, 24/7, and every project is covered by our 730-Day Done Right Promise – if it’s not done right, we make it right. Call (833) 522-5059 to schedule your free estimate for windows and doors in Buena Park.
Written by the team at Groundwork Construction Co. of Buena Park.
See the difference
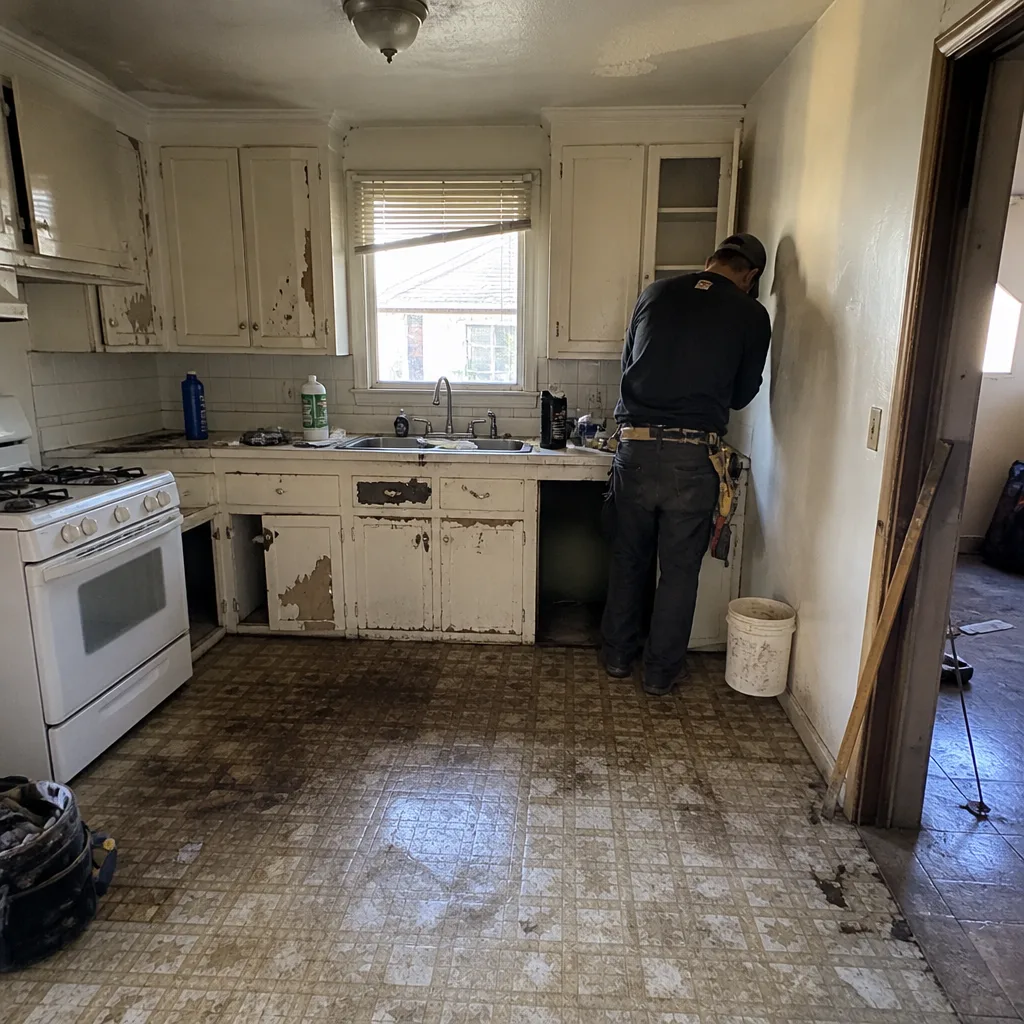 Before
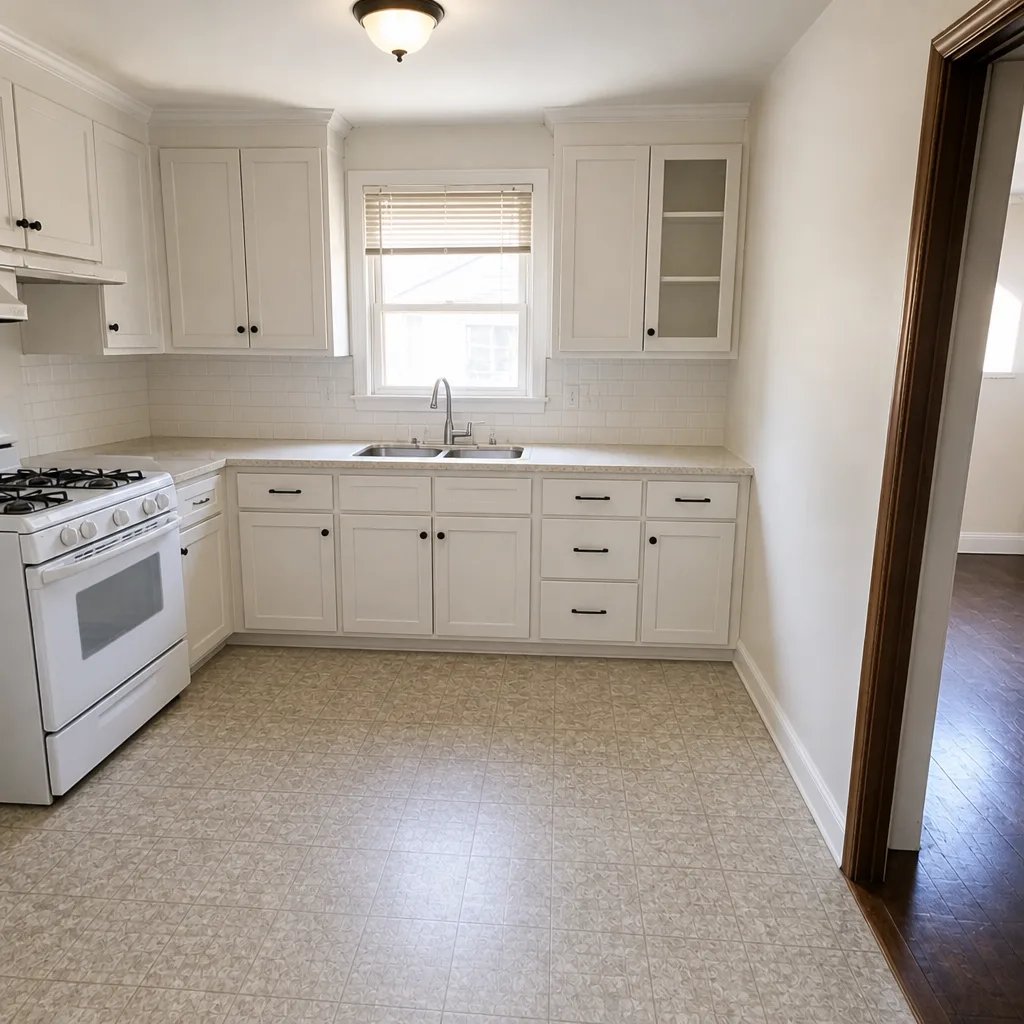 After
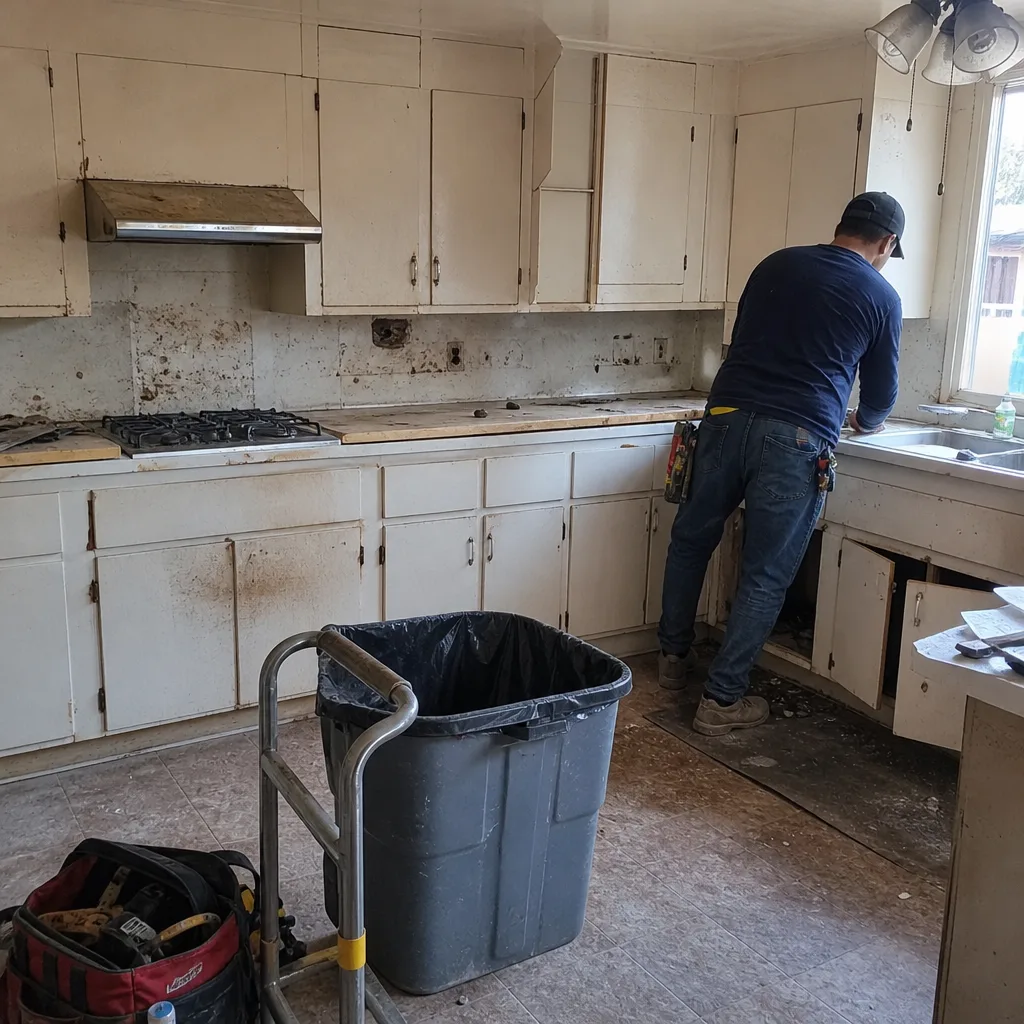 Before
 After
 Before
 After