Last updated November 18, 2026


Free written scope consultation - allowances, timeline, and change-order rules on paper before a single trade is scheduled
Driveway & Pavers Warning Signs Every Homeowner Should Know
That single sunken paver you keep stepping over isn’t a one-paver problem. It’s a 40-square-foot base failure waiting to introduce itself. Most paver driveways don’t collapse overnight; they telegraph the failure for weeks or months through patterns most homeowners write off as normal wear. The pavement in Buena Park deals with a specific set of stressors – clay-heavy soils, seasonal Santa Ana winds, and long dry stretches followed by concentrated rain – that produce very readable warning signs. In this guide, we’ll walk you through the five crack patterns and what each one says about where the failure started, how to read sinking patterns, how to catch joint sand erosion before pavers start rocking, and when the edge restraint has already told you it’s failed. You’ll learn which issues you can schedule, and which ones need a call today.
Quick Answer
The most serious warning signs on a paver driveway are pattern-specific, not cosmetic. Linear cracks running along a joint signal base compaction failure, while a grid of sinking pavers means water is trapped beneath the surface. Widespread joint sand loss, edge pavers migrating outward, and hollow thudding sounds underfoot all indicate the base layer has already broken down. Any of these signs means the surface isn’t the problem – the structural layer underneath is.
Styles & brands we work with
- Kitchen remodeling
- Bathroom remodeling
- Home additions & ADU
- Roofing
- Windows & doors
- Driveway & pavers
- Fence
Table of Contents
- The Five Crack Patterns and What Each One Tells You
- Localized Sinking: Grid Pattern vs. Linear Pattern
- Reading Joint Sand Erosion Before Pavers Shift
- The Edge Creep Signal: When the Restraint System Has Failed
- Rocking and Hollow Sounds: The Base Layer Verdict
- Buena Park’s Climate and Soil Chemistry on Paver Lifespan
- When to Call Now vs. When to Schedule
- What a Proper Paver Repair Actually Involves
The Five Crack Patterns and What Each One Tells You
Cracks are diagnostic, not just cosmetic. The direction, spread, and location of a crack tell a trained eye exactly where in the four-layer system – the paver, the sand bed, the compacted base, or the subgrade – the failure originated. We read cracks the way a doctor reads a scan. Here are the five patterns we look for on every driveway we inspect in Buena Park.
- Hairline cracks along a single paver joint (no offset). This is the mildest signal – usually a sand bed that’s drying and shrinking. It’s a maintenance call, not a structural one. Refilling joint sand resolves it in most cases if addressed within the first season.
- Hairline cracks that jump from paver to paver along a straight line. This is base compaction failure. The base aggregate was laid too thin, or not compacted at the right moisture content, or both. The pavers themselves are fine; the layer of crushed stone under them has settled and is no longer supporting the load evenly.
- Spiderweb or starburst cracks radiating from a single point. A point load landed here – a delivery truck tire, a heavy planter, or a utility access panel that receives traffic it wasn’t engineered for. The paver is crushed. The good news is this is often a same-paver replacement.
- Step cracks that run in a stair-step pattern. Subgrade movement. In Buena Park, we see this most often on driveways that were laid over soil that was never tested for expansive clay content. The soil swells during the wet season and shrinks in the dry months, and the crack pattern traces the movement.
- Cracks running parallel to the driveway edge. Edge restraint failure. Once the border starts to give, the cracks propagate inward. This is covered in more depth further down, but it’s the single most common pattern we see on driveways that are 15 to 20 years old.
None of these patterns gets better on its own. If you’re looking at a crack that’s grown or spread since last spring, that’s your signal to have it looked at before next rainy season. You can see how we approach repair and full installation on our Driveway & Pavers in Buena Park service page.
Localized Sinking: Grid Pattern vs. Linear Pattern
Sinking isn’t a single phenomenon. The shape of the sag tells you which failure mechanism is at work, and the two require very different fixes.
Grid Pattern Sinking = Drainage Failure
When a cluster of adjacent pavers settles together in a rectangular or gridded block, water is pooling beneath the surface. The paver walkway is trapping moisture in the sand bed, and the sand is washing away or consolidating under vehicle load. On Buena Park driveways, we find this most often where the driveway meets the garage apron. That’s the low point of the slope, and if the drainage swale was short-sloped during installation, water sits there for hours after every rain. Over a few seasons, the sand bed beneath the apron pavers is gone.
Grid pattern sinkage needs to be addressed with drainage before it’s addressed with pavers. Filling the dip with new sand or a fresh paver is a temporary patch – the water will find the same low point again within 12 to 18 months.
Linear Pattern Sinking = Tree Root Pressure or Slope Failure
Sinking along a straight line almost always traces to one of two causes. The first is tree root pressure from a mature tree within the root zone – which, for a ficus or eucalyptus, can extend 30 to 50 feet from the trunk. We’ve seen root-heave lift a whole row of pavers on one side of a Buena Park driveway while the other side stayed flat. The second cause is a slope failure – the subgrade was cut at an angle that’s steeper than the soil can hold, and one edge of the paver field is slowly losing support.
Linear sinkage is the harder of the two patterns to correct because the source of the movement is outside the driveway itself. Root barriers, subgrade re-compaction, or drainage re-grading are often part of the repair. In our experience, linear sinkage on a driveway that’s less than 10 years old points back to installation process, not material failure.
Reading Joint Sand Erosion Before Pavers Shift
Joint sand looks like a cosmetic detail. It’s actually the interlock that turns a field of individual pavers into a single load-bearing surface. Once the sand erodes below the paver’s bevel (the small chamfered edge on top), the pavers lose their friction fit, and the entire surface starts behaving like loose bricks instead of a unified platform.
Here’s how to read erosion in the early stages – before you feel any movement:
- Depth check. Joint sand should sit roughly 1/8 inch below the paver surface. If you can push a key or a screwdriver shaft more than 3/8 inch into a joint, the sand has eroded well past its functional level.
- Weed growth in joints. Weeds sprouting from between pavers aren’t a landscaping nuisance – they’re a maintenance indicator. The joint has opened wide enough for a seed to land and root without being choked out by compacted sand.
- Ant mounds or soil spill in joints. In Buena Park, we consistently see fine soil displacement rising out of joints in late spring. The ants are excavating the sand, and the burrowing hollows out more than the surface shows.
- Visible water during watering. When you hose the driveway, water should sit in joints briefly and then drain through the sand. If water drains immediately in one section and pools in another, you’ve found the compromised zone.
- Edge sand loss after rain. Every heavy rain that leaves a small ridge of sand at the bottom of the driveway slope is a sand loss event. Three or four in a season means the joints are depleted.
Sand replenishment is one of the cheapest maintenance items on a paver driveway – typically $200 to $450 in most Buena Park markets for a standard two-car driveway. Once pavers start rocking, the same area requires approximately four to six times that in repair work because the base layer also has to be addressed. The economic case for catching sand erosion early is very clear.
The Edge Creep Signal: When the Restraint System Has Failed
Pavers don’t migrate outward under their own weight. If your border pavers are pushing past the driveway edge, the edge restraint system has already failed at multiple points, and the field is spreading under load. This is the most direct signal of all and the one most often dismissed by homeowners as “just a loose edge.”
Edge restraint is a metal or concrete strip that runs along the perimeter of the paver field. It’s anchored into the base aggregate and provides the compression force that keeps the entire paver grid tightly locked. When that anchoring fails – because it was placed too shallow, or the soil behind it has settled, or the metal used was too light for the vehicle loads crossing it – the border pavers begin to move outward. Once even 1/8 inch of gap opens between the restraint and the first row of pavers, the field begins to spread. The interior pavers loosen as a consequence, and after a full season of vehicle traffic, the pavement surface loses its flatness.
Here’s how to test for edge creep in under two minutes:
- Lay a straight edge (a 4-foot level or a piece of lumber) across the width of the driveway at the bottom of the slope.
- Look for a gap between the straight edge and the pavers that grows wider at the edges than in the center. That’s evidence of spread.
- Walk the perimeter, pushing gently on each border paver with your foot. Any movement at all is a signal. Border pavers should be completely immobile.
- Check for soil or sand tails – small deposits of material outside the driveway edge. Sand pushing out at the edge means the pavement is moving.
Edge restraint failure is not a “let’s-watch-it” scenario. Every month of traffic on a spreading field means more base aggregate displacement and more pavers to reset. If you catch it in the first season, edge repair is a targeted fix on about 10% of the field. Miss two rainy seasons and a Buena Park driveway often needs the entire bottom third rebuilt.
Rocking and Hollow Sounds: The Base Layer Verdict
Rocking pavers and hollow sounds when you walk the driveway tell you the base layer has already lost its compaction. This is the point where the driveway moves from “maintenance” into “repair.”
The paver system works as a stack: subgrade soil at the bottom, then a compacted layer of crushed gravel base (typically 4 to 8 inches, more on Buena Park’s clay-heavy soils), then a 1-inch sand bed, then the pavers themselves. When the base has settled unevenly or the sand bed has washed away under a specific zone, the paver no longer sits flat on a shim. It sits on air. Vehicle load then tips the paver slightly, the neighboring paver takes more load, and you get a rocking chain effect that travels across the field. Walking a rocked driveway sounds like stepping on corrugated metal.
Here’s what the sound diagnostic tells you:
- Sharp hollow click under one or two pavers. Localized sand bed failure – a small zone, likely repairable with just the affected pavers lifted and reset.
- Full-width hollow sound that fades to solid at the edges. Base compaction failure in the interior field – the bottom-center of the driveway is the highest-traffic load point and typically the first to break down.
- Hollow sound that follows a straight line down the middle. Wheel-path compaction failure – the base was not built to handle the concentrated load of two tire tracks over multiple years.
- Rocking that gets dramatically worse in the wet months. Subgrade movement – the soil under the base layer is expanding and contracting seasonally, and the base is not isolating the pavers from that movement.
Once pavers rock, the joint sand between them is lost every time the paver tips. The failure accelerates. If you can hear a hollow thud underfoot when you walk your driveway, it’s time for a professional inspection. You can see how this ties into the broader home exterior work we do at the Groundwork Construction Co. of Buena Park home page, or have us look at it directly with a free estimate.
Buena Park’s Climate and Soil Chemistry on Paver Lifespan
Paver driveways fail at different rates depending on the local soil and weather pattern, and Buena Park sits in a particular sweet spot for stress. The soil in this part of Orange County – especially in the neighborhoods east of Beach Boulevard and the areas bordering La Palma and Cerritos – carries a significant clay fraction. Clay expands and contracts dramatically with moisture. A driveway laid over native clay that was never treated or replaced with proper base material will move every year.
The weather pattern makes it worse. Buena Park’s long dry season pulls moisture out of the soil for six to eight months, then winter rains dump several inches in a short window. That expansion-contraction cycle repeats every year, and each cycle displaces the base layer slightly. A driveway built to handle the average is not built to handle 20 of those cycles. We see the results clearly on driveways that were installed between 10 and 20 years ago – which is the average age of pavers we’re asked to inspect in Buena Park.
One more Buena Park-specific factor: the Santa Ana wind events that arrive in fall push fine dust and grit into the joints and then lift away loose sand. That’s why our inspections here pay close attention to joint sand depth in October and November specifically, before the winter rains. Driveways we see in the northern Buena Park neighborhoods near the intersection of La Palma and Beach tend to show marked sand loss each fall.
If you’re considering a new installation, the base matters more than the paver brand. We use Belgard pavers as one of our standard material partners precisely because they hold dimensional consistency under thermal cycling, but even the best paver on a bad base will fail early. Our team specializes in driveway and paver work in Buena Park and can walk you through what a properly constructed base looks like.
When to Call Now vs. When to Schedule
Not every warning sign is an emergency. The skill is knowing which is which. Here’s how we triage the schedule in our own practice, and you can apply the same logic when you inspect your own driveway.
Call a contractor immediately if you see:
- Any rocking paver pattern wider than 4 pavers in any direction – the base has failed and the failure is accelerating.
- Edge pavers that have migrated more than 1/4 inch past the restraint line, or visible separation between the driveway edge and the adjacent landscape bed.
- Cracks wider than a credit card at any point along their run.
- Sinking that creates a visible low point where water pools for more than 30 minutes after rain.
- Any trip hazard on the walkway section – a paver that’s lifted or dropped more than 1/4 inch at a joint is a liability risk and a real injury risk.
You have a reasonable window to schedule if you see:
- Hairline cracks along joints or early starburst patterns with no offset.
- Joint sand depth below 1/4 inch but no rocking pavers.
- Weeds in joints (one season of sand replenishment addresses it).
- Cosmetic fading or efflorescence without any movement.
- Isolated sunken pavers – one or two in a field otherwise flat.
The general rule we use in Buena Park: if a sign has gotten measurably worse in six months, it’s time to call. “Measurably worse” means the crack has lengthened, the sinking has deepened, the rocking zone has widened, or new signs have appeared. Even if you’re in the “schedule” column today, a free estimate costs you nothing and gives you a written line-item scope you can plan around. Combining this inspection with other exterior projects – like Fence Installation in Buena Park or Home Additions & ADU in Buena Park work – can consolidate the disruption and potentially the material costs.
What a Proper Paver Repair Actually Involves
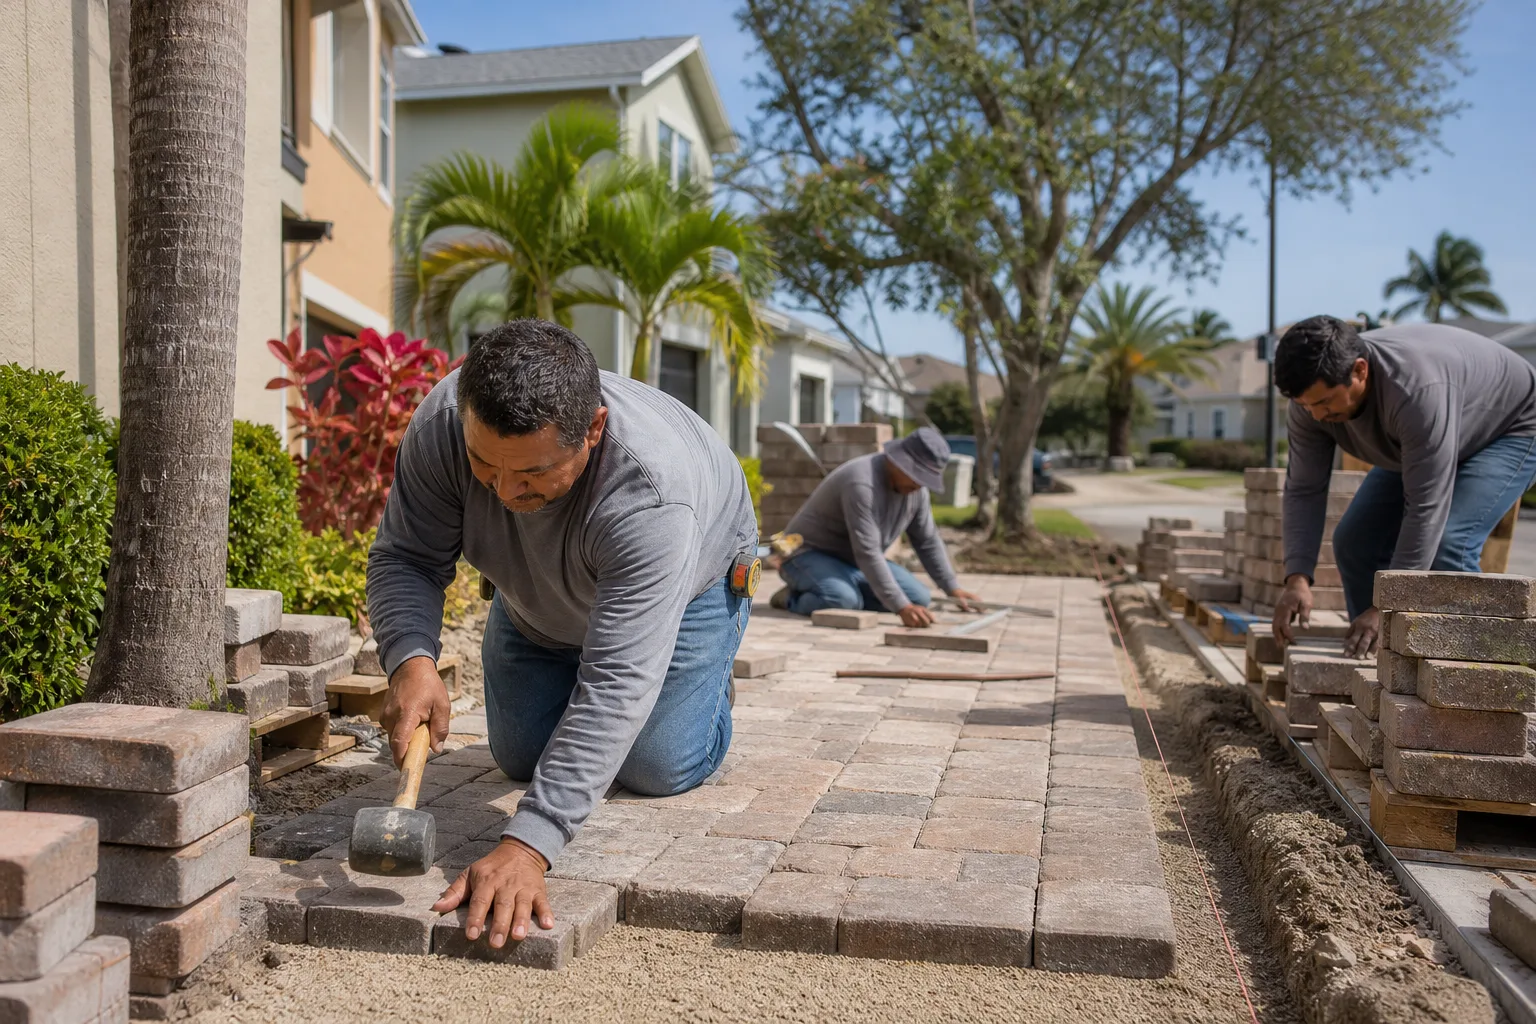
If you’re going to have the work done, here’s what a legitimate repair looks like. This is the process – not a checklist you should attempt yourself. Paver repair requires plate compactors, laser levels, and correct base aggregate grading, and getting it wrong is how a “cheap patch” becomes a full reconstruction six months later.
- Diagnostic inspection. Walk the entire driveway, tapping pavers and checking edge restraint integrity with a straight edge. The repair scope comes from the diagnostic, not from the visible symptom.
- Mark and cut the repair boundary. Symmetrical boundaries – either joint to joint or midpoint to midpoint – prevent the repair zone from becoming its own failure point.
- Lift the affected pavers and set aside for reuse. A proper repair reuses 80% or more of the pavers in the affected zone, replacing only crushed or broken ones.
- Remove the sand bed and evaluate the base. If the base is intact, re-screed a fresh sand bed. If the base has failed, dig out to the subgrade and re-build with properly graded crushed rock.
- Compact in layers. Crushed base gets laid in 2-inch lifts, each compacted before the next, with moisture control. Skipping this is the most common reason pavers fail again inside two years.
- Reset the pavers, install fresh edge restraint, and re-sand. Edge restraint anchoring gets specific attention – this is where most failures originate in the first place.
- Plate-compact the finished field and refill joints thoroughly, then clean.
Every repair we do is backed by the 730-Day Done Right Promise – if the fix isn’t right, we come back and make it right. That matters because paver repair has to be built to outlast seasonal movement, not just pass an inspection on the day of handoff. We answer calls live 24/7 for scheduling and questions, and every technician who shows up is background-checked and in uniform. You do not have to worry about a crew arriving unannounced in an unmarked truck.
Common Mistakes to Avoid
- Patching a sunken paver with sand. Sand won’t compress to hold the paver flat under vehicle weight, and you’ll be patching the same spot again in three months. A sunken paver is a base failure, and it needs a base fix.
- Ignoring edge creep because “they look fine from the street.” Border pavers that move 1/8 inch one season can move 1 inch the next, and once the field spreads, the repair scope triples. If you catch it early enough, edge repair stays a targeted fix.
- Power-washing before refilling joints. This is a Buena Park driveway killer. Pressure washing blows sand out of the joints faster than the driveway can be re-sanded. Power-wash, then refill joints, never the other way around.
- Assuming a hairline crack is cosmetic. A crack that stays the same length for two seasons is cosmetic. A crack that grows by an inch per season is a base failure in slow motion. Measure the crack and write the date next to it – you’ll know within a season.
- Sealing over a compromised driveway. Sealer locks in moisture and hides the warning signs under a shiny surface. Sealing is a maintenance step on a healthy driveway, not a repair step on a failing one.
- Replacing pavers without addressing why they failed. If the paver broke because of a base failure, putting a fresh paver on the same base is expensive decoration. The base is what actually needs repair.
- Letting weeds identify the problem for you. Weeds germinate in the joint sand because the joint has opened. Treating the weeds without addressing the sand loss just means the next weeds sprout faster.
See the difference
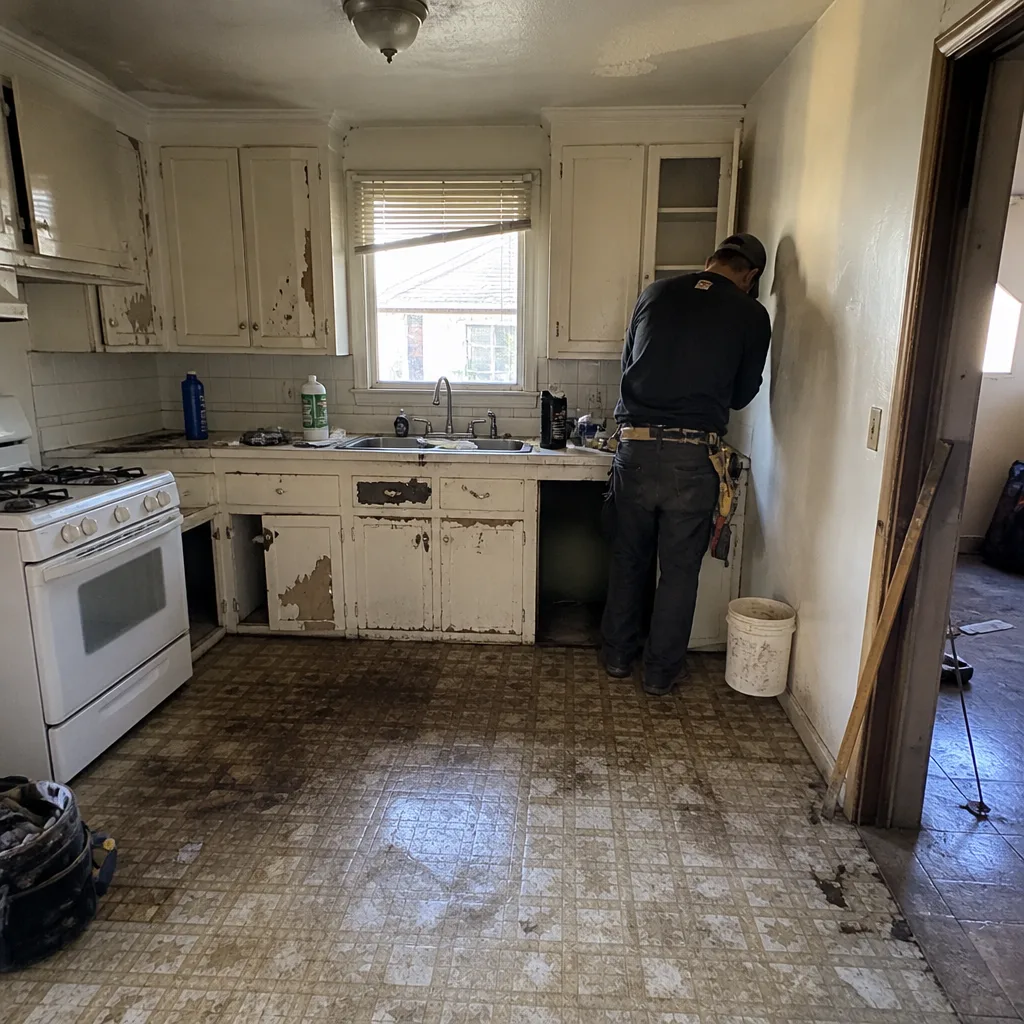 Before
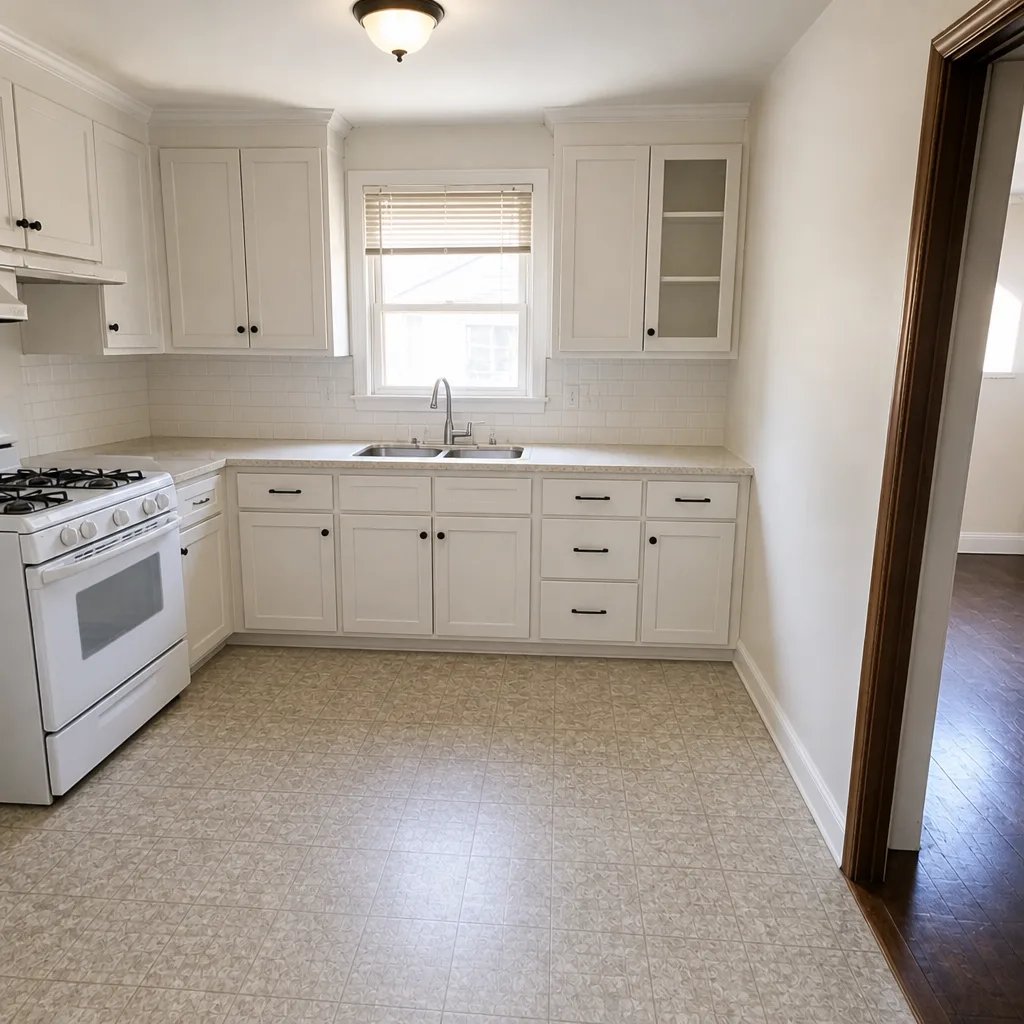 After
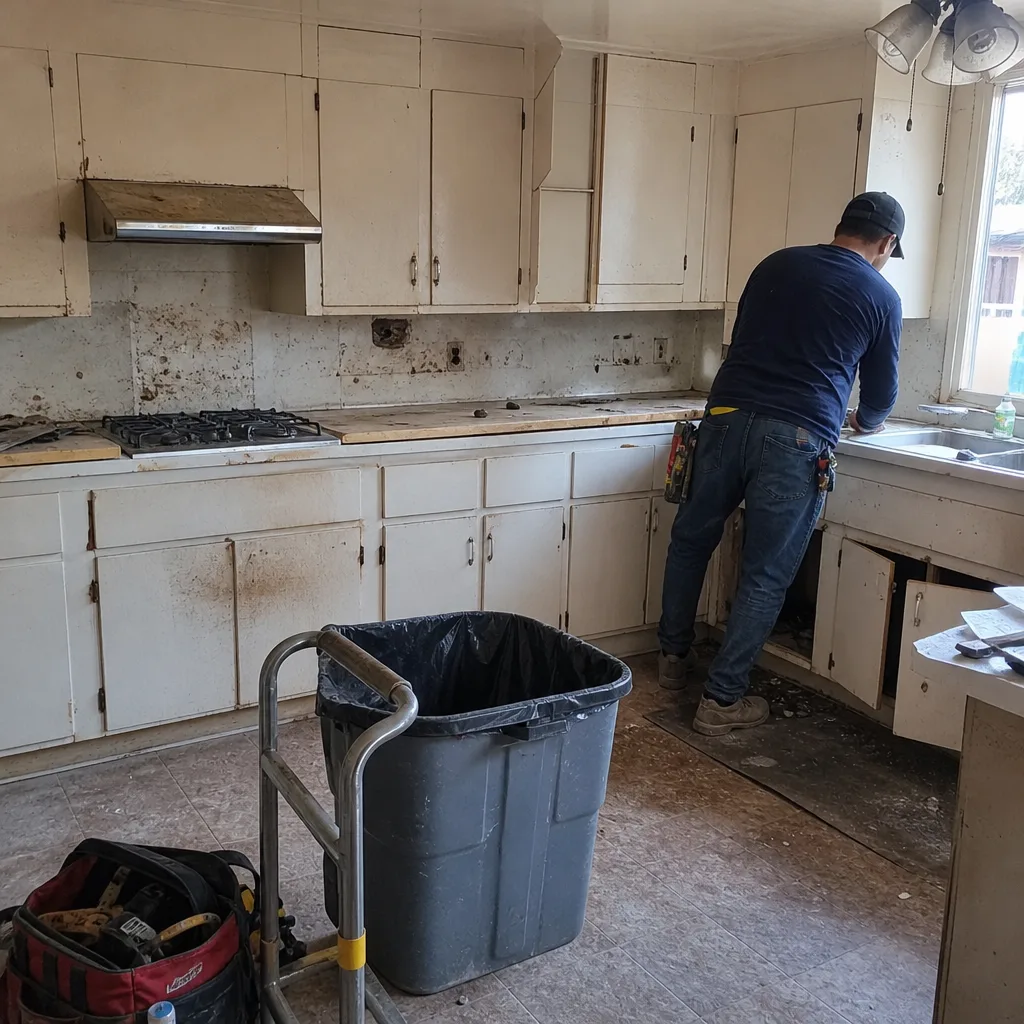 Before
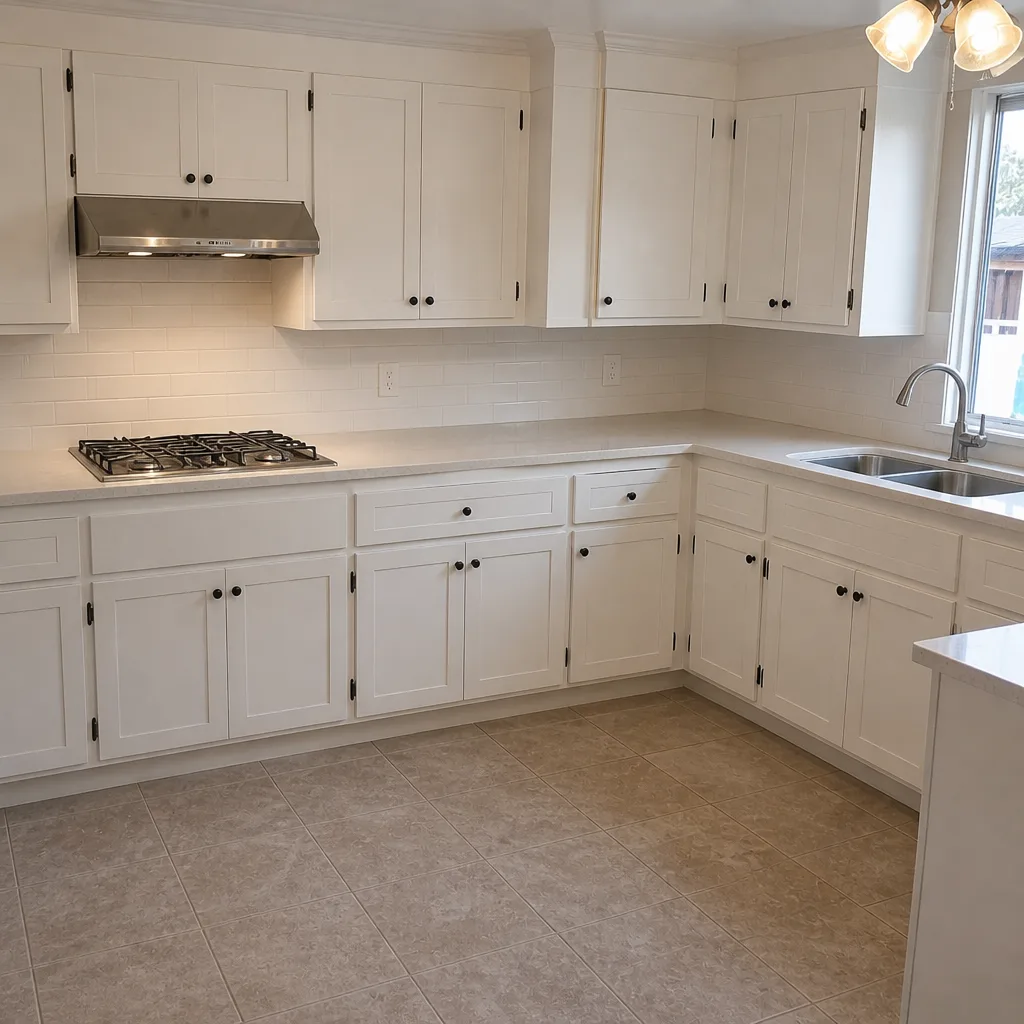 After
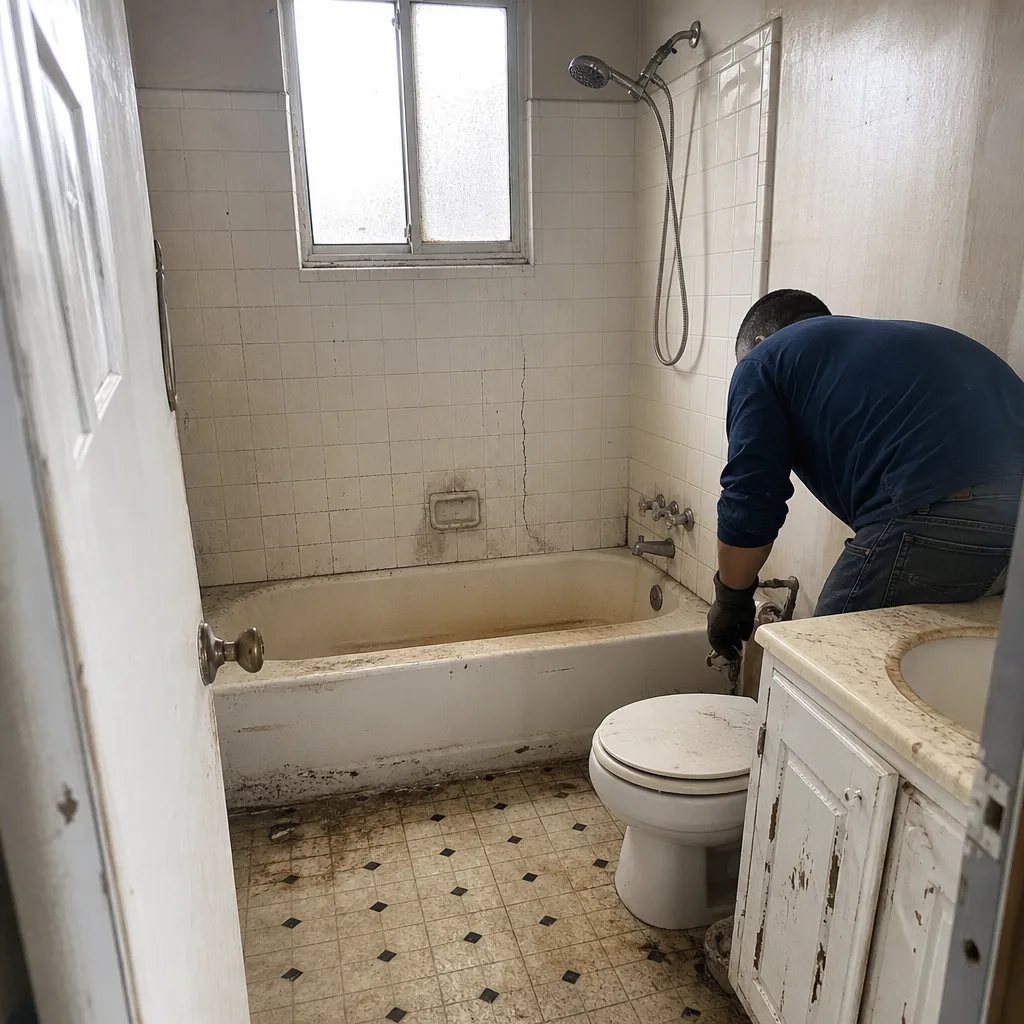 Before
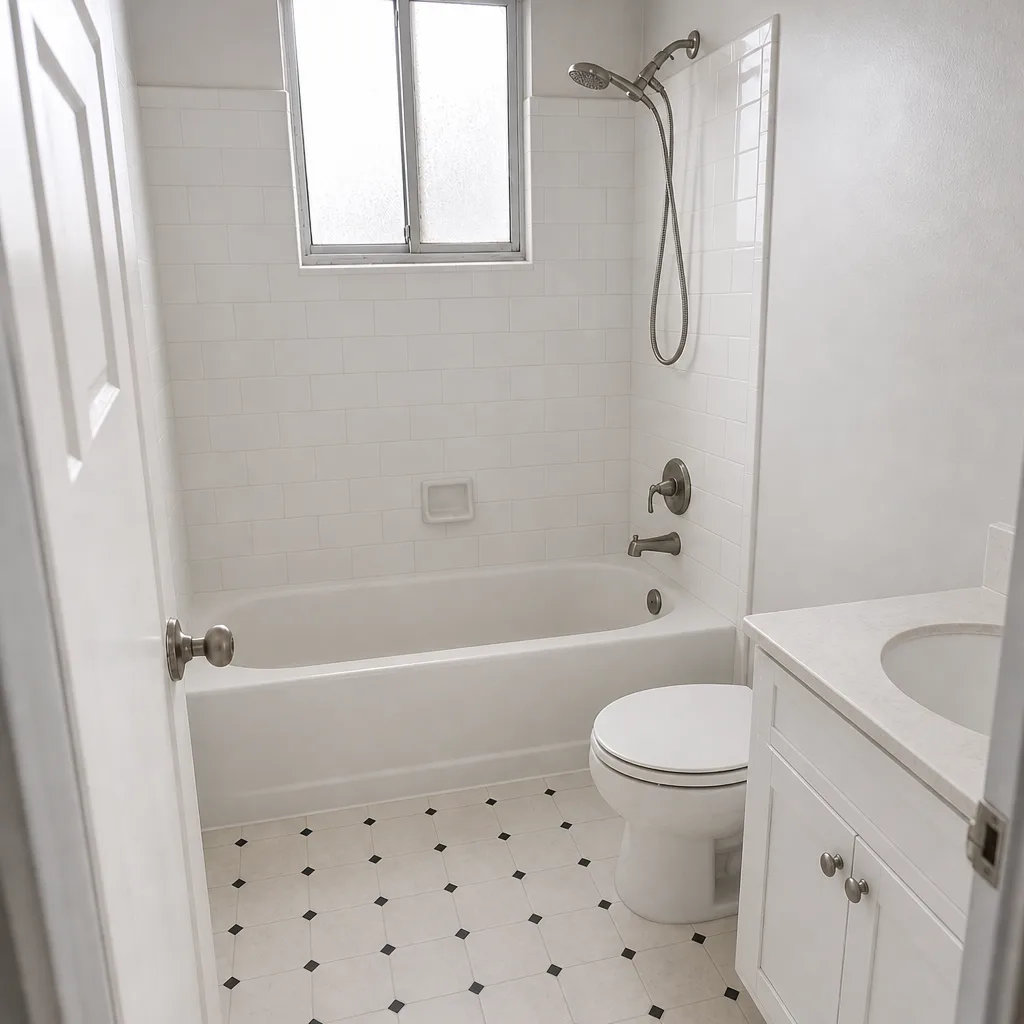 After
When to Call a Professional
Call a professional when you have any of the four “call now” signs – rocking pavers across a wide zone, edge pavers that have migrated past the restraint, cracks wider than a credit card, or a low point that pools water. Call even if you’re in the “schedule” column but the problematic sign has gotten worse over the past six months; the earlier a repair zone can be isolated, the smaller the scope. Driveway repair requires proper compaction equipment, laser leveling, and correctly graded base aggregate, and none of that is available from a pressure washer and a bag of sand. A trip hazard fixed improperly creates a worse trip hazard. Groundwork Construction Co. of Buena Park offers free estimates in Buena Park – call (833) 522-5059 and a live person will answer, day or night. We inspect, we quote in writing with line-item pricing, and the number you see is the number you pay.
Frequently Asked Questions
The clearest signs of base failure are rocking pavers underfoot, a hollow sound when you walk the driveway, and a grid or linear sinking pattern that has grown over multiple seasons. Surface defects like joint cracks or missing sand are recoverable maintenance items, but once pavers actually move under weight, the base has failed. Call (833) 522-5059 for a free estimate – we’ll walk the driveway, tap pavers, and give you a written diagnosis of exactly where the base has failed and what the repair scope is.
A targeted paver repair in Buena Park typically runs $1,200 to $3,800 for a targeted zone in the driveway; full-driveway reconstruction runs $8,000 to $18,000 depending on the base remediation needed. The price depends mostly on which layer failed – a sand bed issue is cheap, a subgrade issue is not. Joint sand replenishment is the least expensive repair, usually $200 to $450 for a standard two-car driveway. Call (833) 522-5059 for an exact quote – estimates are free.
Edge pavers spread outward because the metal or concrete edge restraint that anchors the paver field has failed. Once that anchor loses grip in the base, the entire paver field is no longer held in compression, and vehicle loads push the border pavers outward. Sand tails outside the driveway edge and a growing gap between the restraint and the first row of pavers are the confirmation signs. Edge repair is much cheaper when caught in year one – call (833) 522-5059 to schedule a free inspection.
No. A single sunken paver is a symptom of a larger base failure – usually a 30 to 60-square-foot zone where the sand bed or base layer has settled. Patching the single paver back to level returns the symptom within one or two seasons because the subsidence is still happening around it. A proper repair lifts the zone around the sunken paver, rebuilds whatever layer failed, and resets the entire zone as a unit. Get a free estimate on the actual scope before committing to a patch – call (833) 522-5059.
In Buena Park, joint sand should be inspected twice a year – once in late fall before the winter rains and once in spring after them – and typically replenished once every 18 to 24 months. The dry-season dust and the fall Santa Ana winds combine to draw sand out faster here than in cooler climates. If you see weeds in joints or noticeable sand at the bottom of your driveway slope after rain, that’s your signal. A professional joint refill is inexpensive compared to the cost of resetting shifted pavers later, and (833) 522-5059 reaches a live person for scheduling.
Cosmetic repairs like weed removal and joint sand refill are reasonable homeowner maintenance. Structural repairs – reseating rocked pavers, rebuilding a failed base, replacing edge restraint – should be handled by a professional because they require plate compactors, correctly graded aggregate, and proper layer-by-layer compaction to hold. Improper base repair will fail again faster than the original, and you’ll pay twice. Our technicians have up to 12 years of experience with driveway and paver work, and the work is covered by the 730-Day Done Right Promise. Call (833) 522-5059 for a free estimate.
The Bottom Line
Your paver driveway doesn’t need to fail catastrophically. It gives you warning signs months before the failure becomes expensive – cracks that reveal which layer is failing, sinking patterns that trace to drainage or root pressure, joint sand loss you can measure with a screwdriver, edge creep that shows the restraint has already given up. Homeowners who catch these signs early pay for maintenance. Homeowners who miss them pay for reconstruction. The cost gap is roughly three to five times. In Buena Park, where clay-heavy soil and seasonal wet-dry cycles accelerate every failure mode, routine inspection matters more than in cooler climates. Groundwork Construction Co. of Buena Park builds paver work that’s built to last and backed in writing, using verified material partners and a proper base under every installation. When you’re ready for an inspection or a fresh estimate, call (833) 522-5059 – a live person answers 24/7, estimates are free, and the number you see is the number you pay.
Written by the team at Groundwork Construction Co. of Buena Park.