Last updated November 18, 2026


Free written scope consultation - allowances, timeline, and change-order rules on paper before a single trade is scheduled
Driveway & Pavers Maintenance Schedule: What to Do and When
Sealing your pavers at the wrong time of year does more damage than not sealing them at all. That sounds like a contractor trying to scare you into a service call. It isn’t. When you roll sealer over pavers that are still holding moisture from a wet spring, or over a film that hasn’t worn thin yet, you trap that moisture under a plastic sheet. A few warm weeks later, the surface starts to flake, haze, or cloud, and the only fix is a chemical strip and re-seal. We’ve watched homeowners in Buena Park spend a few hundred dollars fixing a seal that should have waited a season. This guide lays out the right timing for every task a paver driveway needs, built around Southern California’s wet-and-dry rhythm rather than a four-season template.
Quick Answer
A paver driveway needs sealing every 3 to 5 years, not every year, and the correct window in Buena Park and the rest of Southern California is late spring through early fall once the rainy season has fully passed and the surface passes an absorption test. Between seals, the real maintenance work is joint sand, drainage, and edge restraint: repack polymeric sand before joints hollow out, clear drain channels before the first winter storm, and check edge restraints every 12 months. Do those three things on schedule and a good paver system will hold up for 25 to 30 years.
Styles & brands we work with
- Kitchen remodeling
- Bathroom remodeling
- Home additions & ADU
- Roofing
- Windows & doors
- Driveway & pavers
- Fence
Table of Contents
- Why Paver Maintenance Is Really a Protection Plan
- The Southern California Month-by-Month Paver Calendar
- When to Seal: The Absorption Test and the Right Season
- Polymeric Sand: Inspecting and Repacking Joints Before They Hollow Out
- Oil Stains: The 48-Hour Window That Decides Everything
- The 20-Minute Edge Restraint and Drain Check
- Cleaning Without Destroying the Surface
- Common Mistakes to Avoid
- When to Call a Professional
- Frequently Asked Questions
Why Paver Maintenance Is Really a Protection Plan
Paver failure almost never starts with the paver itself. It starts underneath: in the bedding layer, the base, and the joints. A well-built interlocking system in Buena Park is designed to flex slightly and drain fast. Pavers aren’t cracked concrete; they move in tiny amounts as the ground shifts and the seasons turn, and that movement is normal. What kills a system is water getting somewhere it shouldn’t and staying there.
The lifecycle math is blunt. A paver driveway maintained on the right schedule lasts 25 to 30 years. The same driveway maintained on the wrong schedule, or no schedule at all, starts showing real failure around year seven. That failure shows up as sunken corners, wobbly pavers, weed geysers through the joints, and ant colonies nesting in hollowed-out sand. None of those are paver problems. They’re maintenance problems that went unaddressed long enough to turn structural.
Think about what actually ages a paver system:
- Water intrusion into the joints. Every gap in the sand is a channel. Water gets into the bedding layer, freezes or expands, and loosens the bond. In Southern California, the freeze part is rare, but saturation and slow drainage are a year-round problem.
- UV and surface wear. Color fades and the surface micro-texture breaks down over years. Sealer is the slow-down mechanism.
- Root and insect pressure. Weeds and Argentine ants move into joints the moment the sand recedes below the chamfer.
- Edge movement. Pavers along the driveway edge creep outward without solid restraint. Once the edge opens, the whole field loosens.
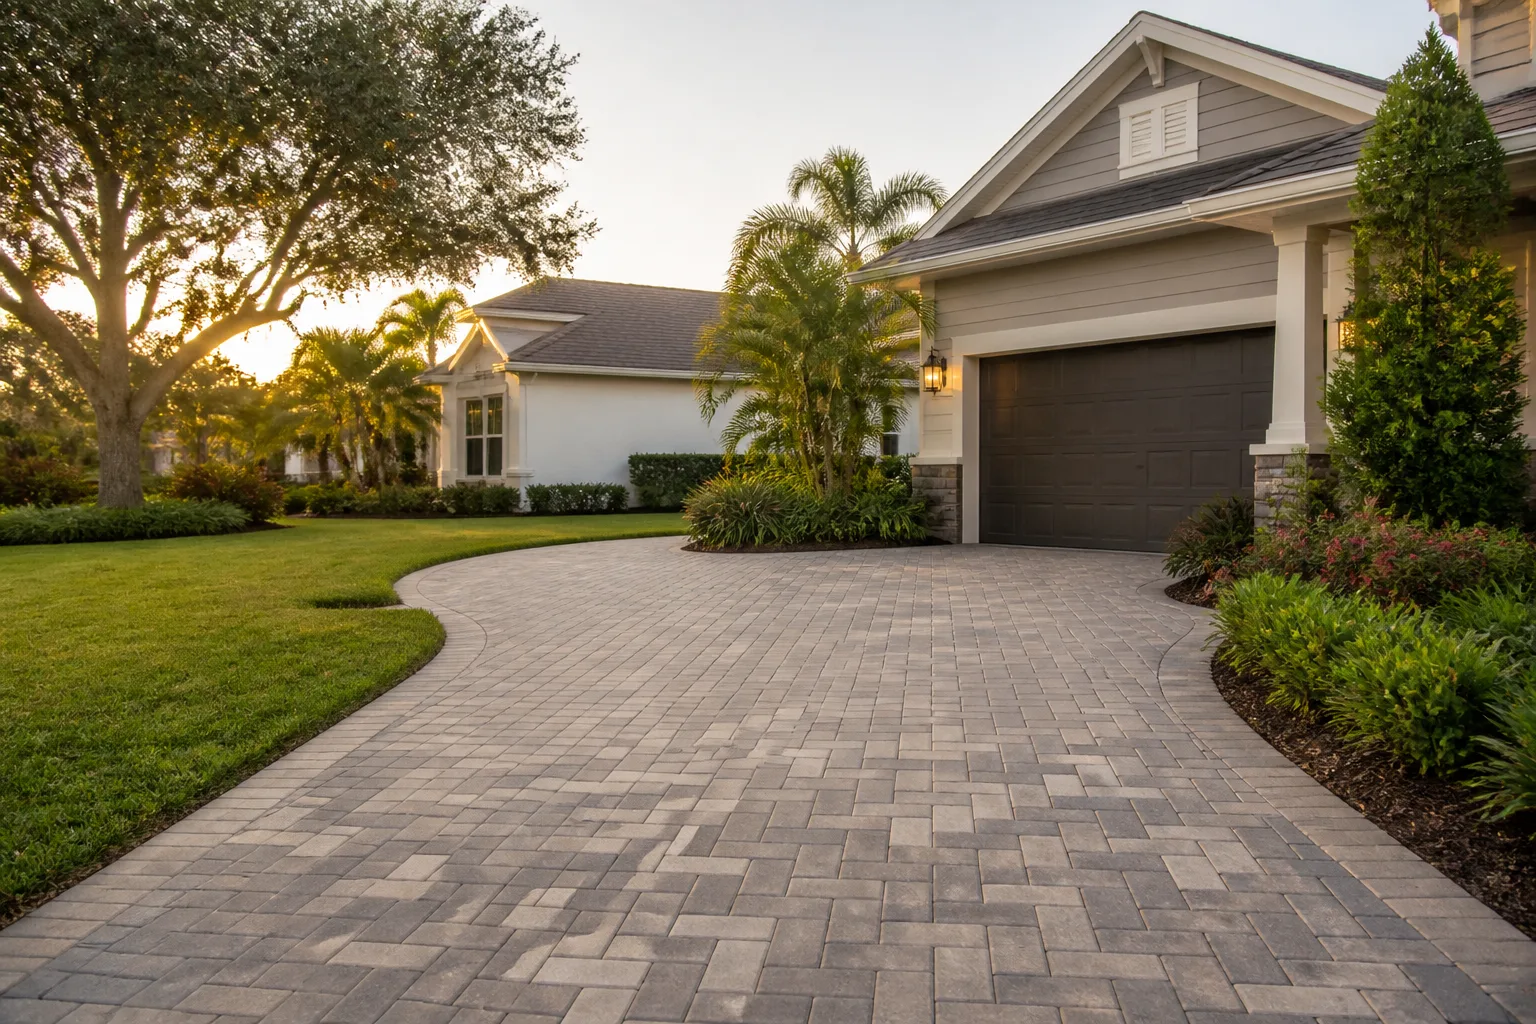
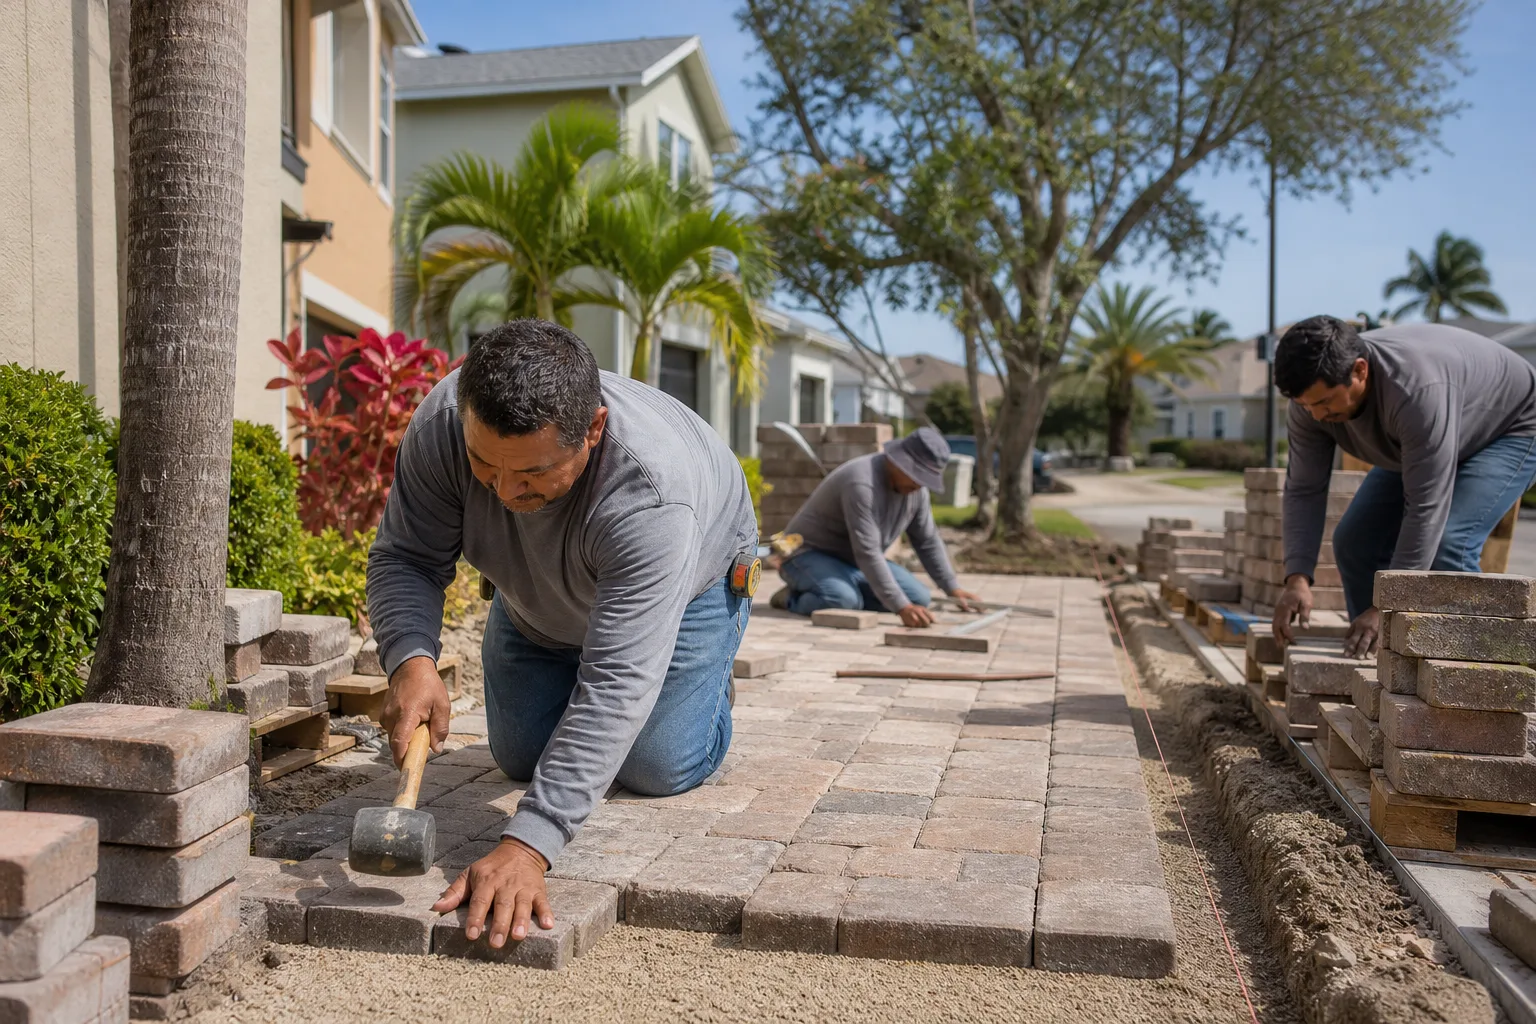
This is the difference between a cleaning checklist and a protection plan. You’re not keeping the driveway looking nice. You’re keeping water, weeds, and insects from gaining a foothold in a system that should outlast your mortgage. When we build a driveway in Buena Park, we build it to be maintained, not to be ignored. You can see how we approach the build on our Driveway & Pavers in Buena Park page.
The Southern California Month-by-Month Paver Calendar
Most paver maintenance advice you’ll find online is written for a climate with four distinct seasons: freeze-thaw cycles, salt on the roads, a spring thaw. Buena Park doesn’t have any of that. What we have is a dry season that runs roughly April through October and a wet season that arrives anywhere from November to March. The tasks are the same, but the timing is almost completely different from a Midwest template.
Here’s the calendar we use for a paver driveway in Buena Park and the surrounding Orange County neighborhoods:
- January – February (wet season): Watch for standing water after storms. That’s your drainage diagnostic. Check for weed sprouts in joints and pull them before they root. Skip any sealing work; the surface is too wet and the risk of trapped moisture is high.
- March (transition): Clear winter debris from drains and channels. Sweep joints and look for sand washout. Repack any low spots once the surface dries out. This is when you catch the damage the wet season caused.
- April – May (early dry season): The main maintenance window opens. Test the surface for absorption, plan the sealer if the film has worn down, and do the full annual edge restraint inspection. In Buena Park, by mid-April the surface temperature and moisture are usually right for sealing work.
- June – August (peak dry season): Light sweeping, oil spot duty, occasional rinse. If you’re going to seal, mid-summer is the most reliable window because you get 48 hours of dry, warm conditions with low humidity. Watch for surface wear and schedule the reapplication if the absorption test says it’s time.
- September – October (late dry season): Second window for sealing and repacking if spring didn’t happen. This is also the smart time to do a full joint inspection before the wet season returns.
- November – December (wet season start): Final drain and channel cleanup, confirm edge restraint is tight, and pull any new weeds. Consider a light rinse after the first big storm to clear the grit that washes across the surface.
The reason this matters: sealing a paver surface in Buena Park in January, when the ground is holding moisture from a week of rain, traps that moisture under the sealer. The surface will cloud, haze, or flake within a season. Sealing in May, after a week of dry weather and a clean absorption reading, gives you a protective film that will hold. Same product, same driveway, completely different outcome. Timing is the whole game.
When to Seal: The Absorption Test and the Right Season
Sealing your pavers is a 3-to-5-year task, not an annual one. Most homeowners over-seal and do more harm than good. Sealing over a still-intact film wastes money and, worse, can create a thick plastic layer that traps moisture and eventually peels. The way to know whether it’s time isn’t a calendar. It’s an absorption test.
Here’s how to run it:
- Pick a dry, warm day at least 48 hours after any rain. In Buena Park, that means the surface has had at least two full days to dry out.
- Pour a small amount of water on an inconspicuous paver in the middle of the field. Half a cup is plenty.
- Watch what happens in 5 to 10 minutes. If the water beads up and stays on top, your sealer film is intact. Skip the seal this year. If the water darkens the surface and starts to soak in within a couple of minutes, the film has worn away and it’s time to reseal.
- Test three spots on different parts of the driveway. Traffic patterns vary, and the surface you actually drive on wears much faster than the edges. If one spot fails, it’s time.
The correct season to seal is late spring through early fall, once the rainy season has fully closed. In Buena Park, that gives you a wide window from roughly late April through mid-October. Budget 24 to 48 hours of dry weather after the seal is applied, plus another day before you drive on it. Weekends in April, May, and September are the sweet spots because you get reliable weather and the driveway isn’t needed mid-week.
One more thing the product label won’t tell you. Some sealers are solvent-based acrylics that form a hard film; others are water-based penetrating sealers that soak in. If your driveway was built with a film-forming sealer, you can’t switch to a penetrating sealer without stripping first. A Buena Park driveway we build out of Belgard or Boral pavers usually calls for a specific sealer type matched to the paver’s finish. Using the wrong one, or mixing them, causes clouding and eventual flaking. Match the sealer to what’s already on the surface, or strip the old film before you apply anything new.
Polymeric Sand: Inspecting and Repacking Joints Before They Hollow Out
Polymeric sand is the joint material holding the whole paver system together. It locks each paver to its neighbors, keeps water from draining straight into the bedding layer, and blocks the two things that do the most damage to an unprotected joint: weed roots and Argentine ants. When the sand recedes below the top edge of the pavers, those problems start immediately.
Check the sand every 12 months, after the wet season. Here’s what to look for:
- Joints hollowed out below the paver chamfer. If you can see a visible gap and the paver edges stand up above the sand line, it’s time to repack.
- Weeds sprouting from joints. A small weed is a signal, not just a nuisance. If weeds are pushing through, sand is already missing in that area.
- Ant tunnels or small mounds. Argentine ants love hollow joint channels. A couple of mounds means an established colony in the bedding layer.
- Sand washed out around drains or low points. Water flow scours the joints here. Check those spots every spring.
Repacking is a homeowner-doable task if you catch it early. Wait until the joints are dry, sweep polymeric sand into the joints, tamp it down with a rubber mallet or plate compactor (a hand tamper works for a small area), sweep the surface clean, then mist it lightly to activate the polymer. Don’t over-wet. Don’t sweep after misting. Let it cure for at least 24 hours. If the joints are more than about half an inch deep, or the sand is hollowed out across more than a few square feet, that’s a sign the bedding layer itself may be compromised and you should have a professional look at it.
One seasonal note for Buena Park: our summer heat can bake a freshly activated polymeric joint before it cures. If you repack in July or August, do it early morning and keep the joint damp for the first hour or two, but avoid pooling water. The joint will harden correctly in cooler months without that extra care.
Oil Stains: The 48-Hour Window That Decides Everything
The 48-hour window is real and it decides whether an oil stain disappears or becomes a permanent memory. A drip from a car, an oil change mishap, or a mower leak lands on a paver and starts soaking into the surface micro-pores immediately. For the first 48 hours, the oil sits on top of the paver, workable. After that, it penetrates past the surface and becomes a stain you can’t fully remove, only lighten.
What to do in the first 48 hours:
- Blot, don’t wipe. Use an absorbent cloth or paper towel and press. Wiping spreads the oil into a wider footprint.
- Apply an absorbent powder like kitty litter, cornstarch, or a commercial paver poultice. Leave it in place for at least 30 minutes, longer if the spill is fresh.
- Sweep up and repeat with fresh absorbent material until no more oil lifts.
- Use a mild degreaser diluted per the manufacturer’s instructions, scrub gently with a soft brush, and rinse. Avoid high-pressure washing, which drives the oil deeper into the paver.
A week later, the situation is different. The oil is in the surface now, and the best you can do is lift what’s liftable with a poultice soaked in a mild solvent, letting it draw the oil out over 24 to 48 hours. Even then, some ghosting usually remains. This is one of the most common reasons Buena Park homeowners call us about a driveway that looks “dirty” and can’t be cleaned: the stains are set, and the only fix is a replacement of a few pavers or a seal and color refresh. Cleaning alone won’t undo a week-old oil spill.
Prevention is the boring answer. Keep a drip tray under the mower, catch oil changes with a mat, and know that a well-sealed driveway gives you a much wider workable window than an unsealed one. Sealed pavers give you 72 hours or more to react. Unsealed pavers give you about 24 hours before the oil starts to bite.
The 20-Minute Edge Restraint and Drain Check
This is the task that saves the most money, and it takes 20 minutes a year. Walk the perimeter of your paver driveway. Look at the edge restraint, the border course, and every drain, channel, or transition. What you’re looking for is movement or blockage.
Edge restraint is the physical border, usually aluminum or concrete, that keeps the perimeter pavers from creeping outward. When it fails, the whole field loosens. The pavers start walking, joints open up, and within a season or two you have a wobble and a repair that costs far more than a re-stake would have. What kills edge restraint in Buena Park is root pressure from trees, expansion from our hot summers, and the occasional vehicle clipped a little too close to the curb.
Walk and check:
- Tap the border pavers with your foot or a rubber mallet. A hollow sound or movement means the bedding under the edge is loose.
- Look for the restraint pulling away from the curb or lawn edge. Small gaps grow; nothing stays small once water is flowing into it.
- Confirm drain grates are clear. In a Buena Park November, a single leaf-packed grate can back up a whole driveway and turn the low corner into a pond.
- Check any channel drain for standing water even in dry weather. That’s a sign the slope has shifted and the water is moving the wrong direction.
If the edge is intact, you’re done for the year. If it’s loose, a simple re-stake and re-bed on a small section is a low-cost fix. If the whole perimeter has moved, that’s not a homeowner fix; the deck needs to be re-seated. The 20-minute check is cheap; the corner repair you avoid because you caught it in March is not.
We see this most often in older Buena Park neighborhoods where the driveway shares a border with mature trees. The root pressure against the edge restraint eventually wins unless someone is looking at it each year. The fix isn’t the paver; it’s the border holding it in place. From a build standpoint, we plan for that. A proper edge is a 10-minute inspection you do once a year, and it’s what keeps the field from drifting.
Cleaning Without Destroying the Surface
Cleaning is the part of maintenance almost everyone gets wrong. High-pressure washing looks like magic the first time you try it: dirt lifts, color brightens, everything looks new. Two years of repeated pressure washing later, the sealer is stripped, the surface texture is roughened, and the paver is more porous than when you started. The result is faster fade, faster staining, and a driveway that needs a chemical strip and re-seal much sooner than it should.
The rule: low pressure, high volume, soft tools.
- Regular sweeping is the most effective cleaning tool you own. A push broom a couple of times a week keeps grit from grinding into the surface and keeps the joints from packing.
- A garden hose with a spray nozzle handles most surface cleaning. Work top-down and let water carry the dirt away.
- A soft-bristle brush and a mild detergent for tough spots. Never a wire brush or a scouring pad; both scratch the surface.
- If you use a pressure washer, stay under 2,000 PSI and use a fan tip, not a pinpoint. Keep the wand moving and never hold it in one place. Stay off the joint sand directly; you’ll blow it out.
- Avoid bleach and industrial solvents. They degrade the polymer in the joint sand and stain the paver color.
For a Buena Park driveway, spring cleaning (March) and fall cleaning (October) hit the two natural moments: after the wet season and before the next one. Anything more is usually unnecessary. Anything less and the grit starts to work its way into the joints and the sand pack.
See the difference
 Before
 After
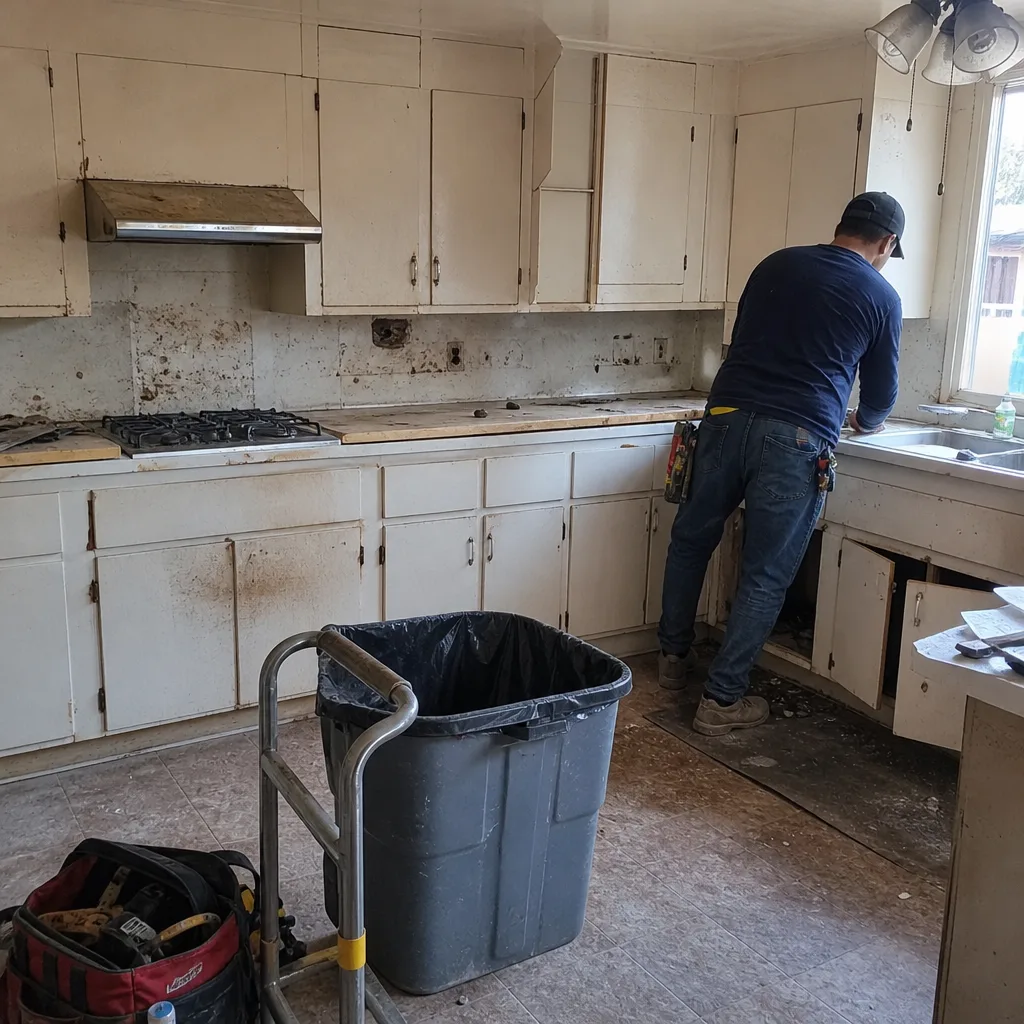 Before
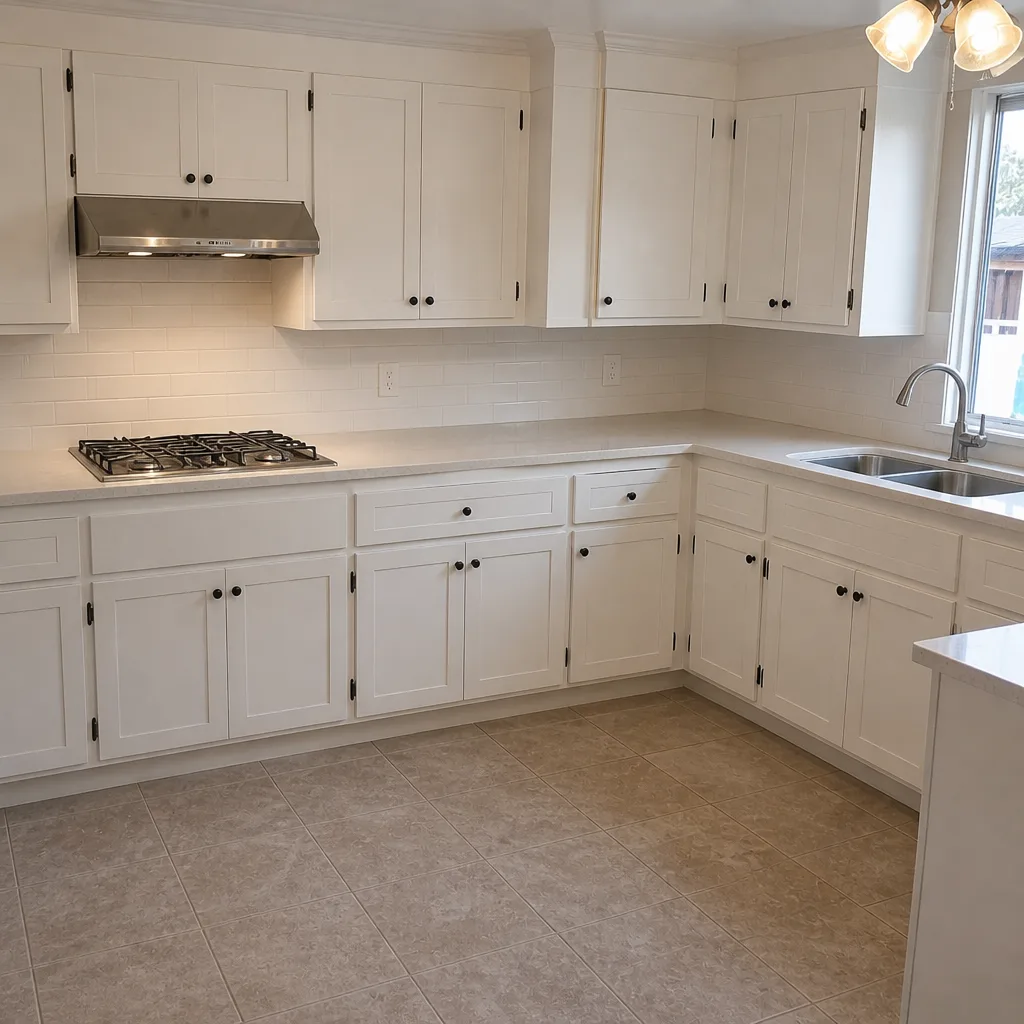 After
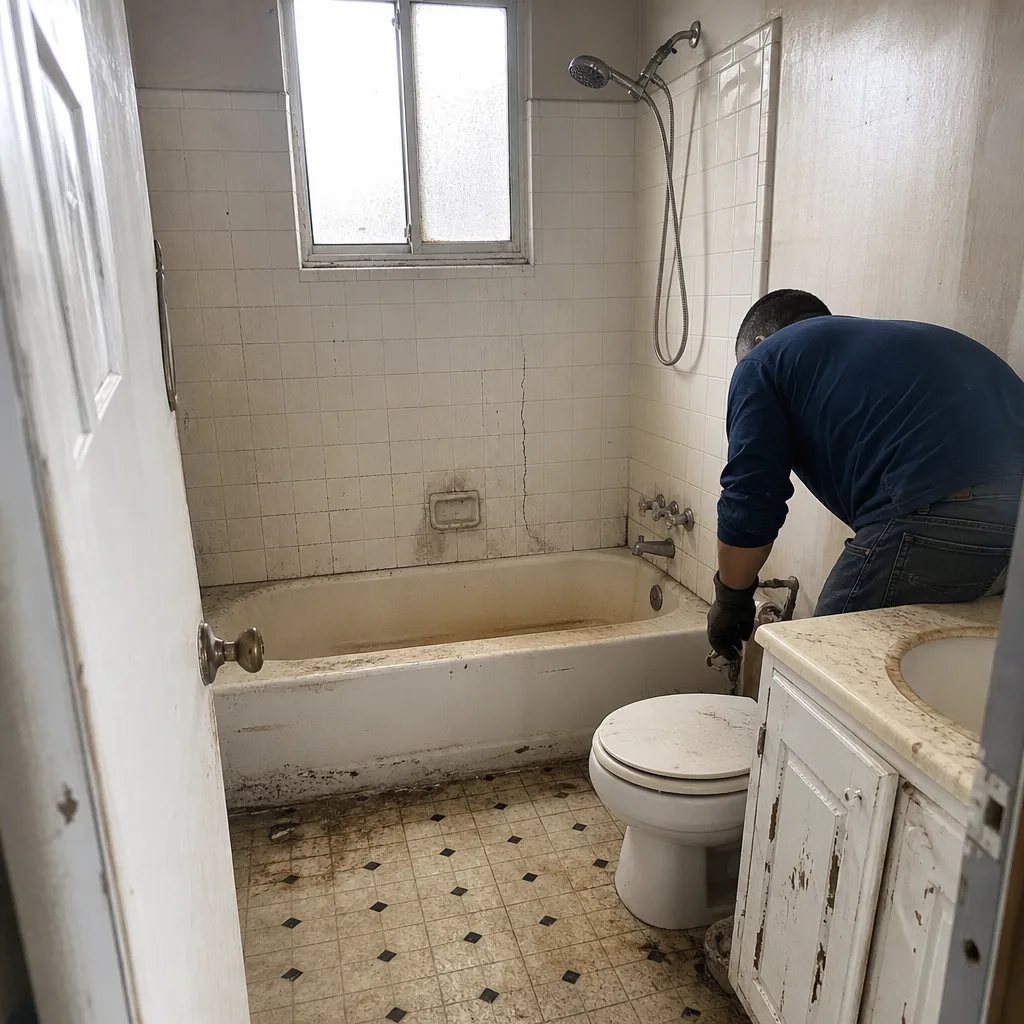 Before
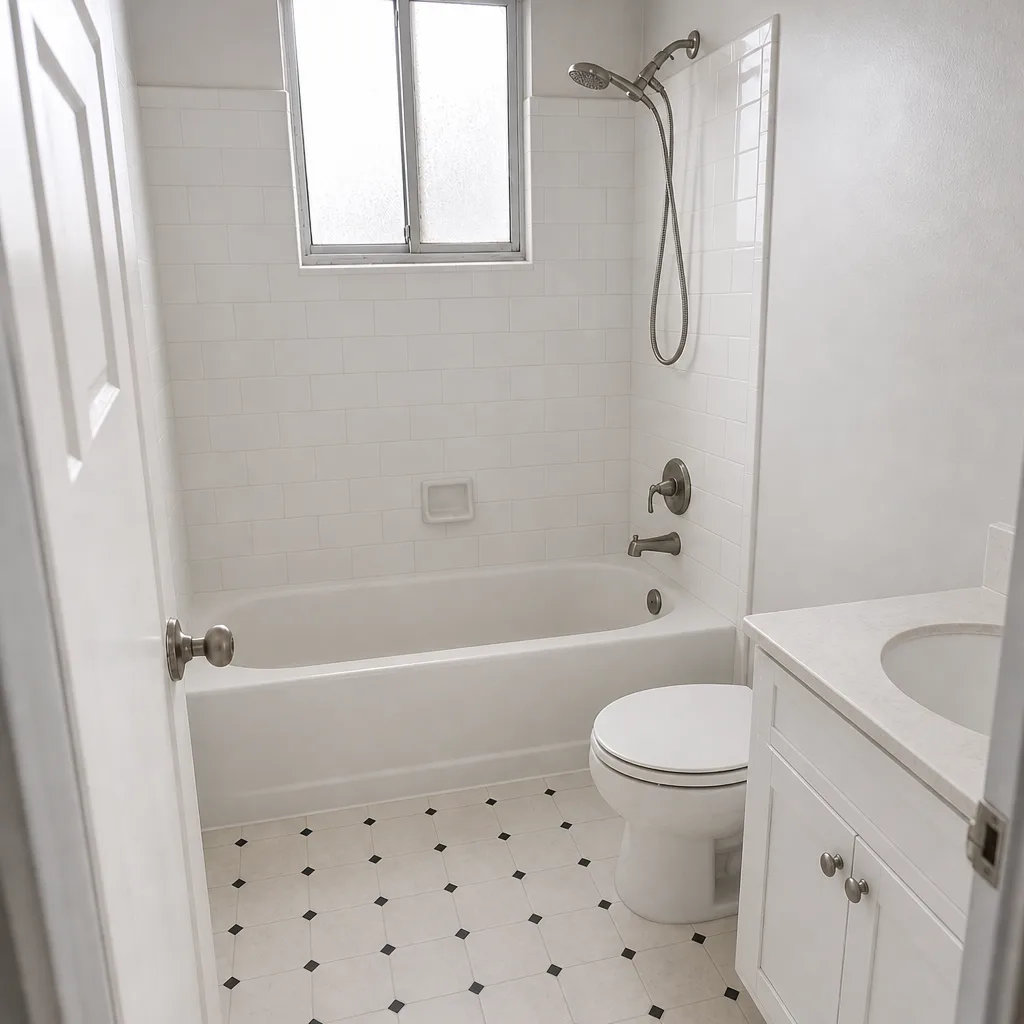 After
Common Mistakes to Avoid
- Sealing on a schedule instead of on the absorption test. Homeowners who seal every 12 months because “that’s what the label says” end up trapping moisture under intact film. Test first.
- Sealing after a rain. A Buena Park driveway in January can look dry on top and be holding moisture in the bedding layer for a week. Wait 48 hours minimum after the last rain.
- Power washing the joint sand out. A high-pressure pass strips a season’s worth of polymeric sand out of the joints in a few minutes. Repacking costs more than the cleaning saved.
- Ignoring a single hollow joint. One low joint invites the first weed, the first ant colony, and eventually the first washout. Fix the one, not the many.
- Letting oil sit for a week. The 48-hour window is the difference between a lifted stain and a permanent one. Keep absorbent material on hand so you can act the day of the drip.
- Skipping the edge inspection because the driveway “looks fine.” Edge failure is invisible until the pavers start to move. The 20-minute check catches it a season or two before the wobble.
- Using the wrong sealer type. Applying a penetrating sealer over a film-forming acrylic, or vice versa, causes clouding and eventual peeling. Match the sealer to what’s already on the surface, or strip and start clean.
When to Call a Professional
Most of what we’ve covered is homeowner-doable if you catch it early: sweeping, spot cleaning, joint repacking, edge checks, drain clearing. A few situations belong with a professional. Widespread joint sand loss across more than a few square feet, sunken pavers that rock underfoot, edge restraint that has moved along most of the perimeter, oil stains that have set for a week, or any sign of water pooling in the middle of the field after storms all point to a repair that needs the system opened up, not just a surface touch-up. Paver failure under the surface usually starts with the base or bedding layer, and that’s not a homeowner fix. If your paver driveway is showing any of those signs, Groundwork Construction Co. of Buena Park offers free estimates in Buena Park, and you can call (833) 522-5059 to schedule one. We’ll tell you honestly whether it’s a maintenance catch-up or a rebuild, and if it’s a rebuild, the work is covered by our 730-Day Done Right Promise. Permits, inspections, and a written line-item quote come standard.
Frequently Asked Questions
Every 3 to 5 years, not every year, and the decision should be driven by an absorption test rather than a calendar. Pour water on the surface: if it beads up and sits for 5 to 10 minutes, the sealer film is still intact and you should wait. If it soaks in within a minute or two, it’s time. In Buena Park’s dry summer heat, the seal usually lasts closer to the 4-to-5-year end; the wet season and weekend traffic wear will push it toward the 3-year end. Call (833) 522-5059 for a free estimate if you want a second opinion on whether it’s time to reseal.
Late spring through early fall, once the rainy season has fully closed. In Buena Park that’s roughly late April through mid-October. The two reliable windows are May and September. Avoid January and February entirely, since the surface is holding moisture from the wet season and sealing will trap it under the film. Avoid July and August for large sealing jobs unless the crew starts at dawn, because the surface can bake before the sealer cures evenly. Call (833) 522-5059 for a free estimate and we’ll schedule around the right weather window.
Yes, but at low pressure (under 2,000 PSI) with a fan tip, and never on the joint sand. High pressure strips the sealer, roughens the surface, and blows the polymeric sand out of the joints in minutes. For a Buena Park driveway, regular sweeping and a garden hose handle most cleaning. For anything more, a soft-bristle brush with a mild detergent is safer than a pressure washer.
The first 48 hours are the only real window. Blot the spill, cover it with an absorbent powder like kitty litter or cornstarch, wait 30 minutes, sweep up and repeat until nothing lifts, then use a mild diluted degreaser and scrub with a soft brush. After a week, the oil has soaked into the surface and you can only lighten it, not remove it. Prevention is the cheaper answer: drive on a sealed driveway and keep absorbent material on hand.
Hollowed-out polymeric sand. When the joint sand recedes below the paver chamfer, weeds and Argentine ants move into the empty channel within days. Repack the joints with fresh polymeric sand once they’re dry, tamp it, sweep, mist lightly to activate, and let it cure for 24 hours. In Buena Park, check the joints every spring after the wet season; washed-out joints around drains and low points fail earliest.
It prevents the failure that starts around year seven on a neglected driveway. A maintained paver system hits the 25-to-30-year lifecycle; an unmaintained one shows sunken corners, loose pavers, weed pressure, and edge movement much earlier. The three tasks that matter most are joint sand, drain clearing, and edge restraint, and they’re all inexpensive and homeowner-doable if you catch them on schedule. Call (833) 522-5059 for a free estimate if you’d like an honest assessment of where your driveway stands.
The Bottom Line
Paver maintenance isn’t a cleaning checklist; it’s a protection plan calibrated to Southern California’s wet-and-dry rhythm. The three tasks that decide whether your driveway reaches year 25 or starts failing at year seven are joint sand, drainage, and edge restraint. Sealing is a 3-to-5-year decision driven by the absorption test, not an annual ritual, and the right season in Buena Park is late spring through early fall, never during or right after the wet season. Handle oil stains in the first 48 hours. Run the edge check every March. And when a repair looks structural rather than surface-level, call a professional. The schedule is simple. The consequence of skipping it isn’t.
When a paver driveway in Buena Park needs more than maintenance, Groundwork Construction Co. is the full-scope partner: upfront pricing with no surprises, permits pulled and inspections passed, a curated mix of top-tier materials including Belgard and Boral pavers and Atlas hardscape products, and every project backed by our 730-Day Done Right Promise. Calls are answered by a live person 24/7, and technicians are background-checked and arrive in uniform on every job. We also offer $1,000 off projects over $10,000 and 0% financing for 18 months on larger builds, plus a free project estimate and design consult to get started. If your project extends beyond the driveway, our teams also handle a Fence Installation in Buena Park and Home Additions & ADU in Buena Park to keep the whole property moving in one direction. See the full service lineup on our Groundwork Construction Co. of Buena Park home page. Call (833) 522-5059 to schedule your free estimate.
Written by the team at Groundwork Construction Co. of Buena Park.