Last updated November 18, 2026




Free written scope consultation - allowances, timeline, and change-order rules on paper before a single trade is scheduled
Fence Installation Troubleshooting: Common Problems and How to Fix Them
A leaning fence post that you straighten and re-brace without recoring the footing will lean again – usually faster the second time. That’s the part most repair videos skip. They show you the brace, not the cause. In our experience working Buena Park fence lines, the vast majority of failures come down to two things: how deep the post went in and what the concrete mix actually was. Fix those right and the hardware, the boards, and the gate all hold. Get them wrong and you’re just buying time. This guide walks through the structural truth behind leaning posts, warped boards, and sagging gates, and tells you honestly when a repair is real and when it’s a patch on a fence that’s going to fail again.
Quick Answer
A leaning or wobbly fence post is almost always a footing failure, not a board problem. The fix isn’t bracing – it’s excavating the post, removing the failed concrete, digging to proper depth (typically below frost line or at least one-third of the post’s above-ground height), and re-pouring with a correctly mixed and crowned concrete collar. If the post itself is rotted or the surrounding soil has eroded, the fix changes. Diagnose before you dig.
Styles & brands we work with
- Kitchen remodeling
- Bathroom remodeling
- Home additions & ADU
- Roofing
- Windows & doors
- Driveway & pavers
- Fence
Table of Contents
- How to Diagnose Why a Fence Post Is Leaning
- The Correct Way to Reset a Fence Post Without Replacing the Panel
- Post Depth and Concrete Mix: The Two Root Causes
- Why Fence Boards Warp, Cup, or Split in the First Two Years
- Gate Sag: Hinge, Post, Frame, or Brace?
- Buena Park Climate and Soil: What Makes Fences Fail Here
- When a Repair Holds and When It Won’t
- Common Mistakes to Avoid
How to Diagnose Why a Fence Post Is Leaning
Before you touch a shovel, figure out what actually failed. A leaning post has one of three root causes, and each demands a different repair. Get the diagnosis wrong and you’ll do a week of work that fails by next spring.
1. Footing failure. The concrete collar cracked, shifted, or was poured too shallow. The post moves at the base, and if you grab the post and rock it, you’ll feel movement at the ground line, not higher up. This is the most common cause we see in Buena Park, especially on fences more than 10-12 years old. Often it happens on corner and gate posts where the load is highest.
2. Post rot. The post is sound at the top but soft, spongy, or splintering near the soil line. Wood posts set with inadequate drainage or without a gravel base wick moisture upward and rot from the bottom. Probe the post with a screwdriver about an inch above grade. If it sinks easily, the post is gone. Bracing won’t help – the post must be replaced.
3. Soil erosion or settling. The ground around the post has washed out or settled, leaving the concrete exposed or the post loose in a widening hole. This happens on slopes, near downspouts, and along property lines where drainage concentrates. In Buena Park, yards that were regraded without adding drainage often show this pattern. The fix is to reset the post and correct the grading so water flows away from the fence line.
If your post fails all three tests – it’s solid, the footing looks intact, and the soil is stable – the problem may be a panel pushing against the fence line, a tree root uplifting the concrete, or a gate pulling the post. That’s when you call someone who can actually diagnose it in person.
The Correct Way to Reset a Fence Post Without Replacing the Panel
You can reset a single post without pulling the whole fence down, but only if the boards and rails are still solid and the adjacent posts are stable. Here’s the method we use, in order.
- Support the panel first. Before you excavate, brace the adjacent posts and the panel so it doesn’t sag or twist when the failed post comes loose. A ratchet strap from a stable post to the panel works well.
- Excavate around the post. Dig a hole wide enough to expose the full concrete collar – typically 12-18 inches across. Go down until you reach the bottom of the concrete.
- Break out the old concrete. Use a digging bar or a small breaker. Don’t try to lift the post with the concrete still attached – it will crack the panel rails.
- Remove and inspect the post. If the post is rotten, replace it. If it’s sound, clean it and set it aside. Check for cracks or splitting at the base.
- Re-dig to proper depth. This is the step most DIY fixes skip. The hole should go at least 24-36 inches deep for a 6-foot fence, and to at least one-third the post’s above-ground height. In Buena Park, where soil is often sandy or clay-heavy, deeper is better.
- Add a gravel base. Pour 4-6 inches of coarse gravel for drainage before the post goes back in. This is what keeps the post from rotting again.
- Re-pour with the right mix. Use a pre-mixed concrete rated for post setting, mixed to a firm but workable consistency – not soupy. Fill the hole in lifts, tamping out air pockets as you go. Crown the top slightly above grade so water runs off.
- Let it cure before loading. Give the concrete at least 24-48 hours before attaching panels or a gate.
If the panel itself is warped or the rails are cracked, pulling the whole section and resetting two posts at once is often the smarter call. Common mistakes here are skipping the gravel base, over-watering the mix, and pouring concrete that’s too shallow – all of which put you back at square one.
Post Depth and Concrete Mix: The Two Root Causes
If there’s one thing we want a homeowner to take away from this guide, it’s this: post depth and concrete mix determine how long your fence stands. Everything else is secondary.
Post depth. A 6-foot wood fence needs posts set at least 24-36 inches deep. A 6-foot vinyl or composite fence usually needs deeper, because the material is heavier and catches more wind. Gate posts need the most depth because they carry the swinging load. Shallow posts are the single most common cause of leaning we see in Buena Park, and it’s almost always because the original installer took a shortcut – 12 inches was “good enough.” It isn’t.
Concrete mix. Use a pre-mixed concrete rated for post setting, typically a 4,000 PSI mix. Don’t use a fast-setting repair mix for a structural post – it cures too fast and cracks. Don’t mix it too wet. The right consistency holds its shape when you squeeze a handful. Over-watered concrete is weak concrete, and weak concrete is what lets a post move after the first rainy season.
What good looks like:
- Hole depth: 24-36 inches minimum, deeper for gates and heavy panels
- Hole width: 12-18 inches, wide enough to form a solid collar
- Gravel base: 4-6 inches for drainage
- Post centered, plumb in both directions, braced until cured
- Concrete mix: rated for post setting, mixed firm not soupy
- Top of concrete crowned above grade so water sheds
The reason these two items matter so much is that they’re the only part of the fence you can’t see. Everything else – boards, hardware, gates – is visible and repairable. Get the foundation right and the rest of the fence takes care of itself.
Why Fence Boards Warp, Cup, or Split in the First Two Years
A board that warps or cups within 24 months of installation isn’t just a cosmetic problem. It’s a signal about one of three things: material grade, installation method, or finish.
Material grade. Lower-grade or green lumber has more moisture in it, and it moves as it dries. Boards cut from the center of the log, or lumber that hasn’t been properly kiln-dried, cup more than boards cut from the outer rings. If a fence was built with the cheapest available stock, warping in the first two years is almost guaranteed. Premium brands and properly graded material cost more up front and warp far less. For Buena Park homeowners replacing an older fence, material grade is the difference between a 20-year fence and a 10-year one.
Installation method. Boards nailed or screwed tight to the rails, with no space for expansion, buckle and split as they absorb moisture. Proper installation leaves a small gap between boards, uses two fasteners per rail, and keeps the fasteners straight – not angled – so the wood doesn’t split around them. Face-nailing rather than edge-nailing, or using the wrong fastener length, causes splits within a single season.
Finish. Untreated, unsealed wood takes on moisture from both sides. The sunny face dries faster than the shaded face, causing cupping – the board curls toward the sun. A quality penetrating stain applied to both sides at installation slows that dramatically. Sealer applied only to one side makes it worse, because moisture gets trapped inside the wood and pushes the untreated face outward.
Diagnosing the problem is a matter of looking at the pattern:
- Splits at the fasteners: installation error
- Cupping across the width of the board: material grade or one-sided finish
- Warping on the whole panel, not individual boards: installation error or footing failure
- Surface checking (fine cracks, no warping): normal wood movement, not a real problem
If the boards are cupping within the first two years, the fence is the problem, not the weather. That’s a conversation worth having before you spend money on repairs.
Gate Sag: Hinge, Post, Frame, or Brace?
A sagging gate is a diagnostic puzzle. There are four parts it could be, and each one requires a different fix. Before you tighten a single screw, use these tests to figure out where the sag is actually coming from.
Test 1: Hinge hardware. Open the gate slowly. If it drops as it swings, look at the hinges. A bent pin, a stripped screw hole, or a hinge that’s pulling away from the post or stile is your answer. Replace the hinge and, if the screws are stripped, fill the holes with wood glue and a dowel and re-drill. This is the cheapest and most common fix.
Test 2: Latch post. If the gate latches but drags, or won’t latch at all, the latch post may have rotated or shifted. Grab the latch post and rock it. If it moves, the post footing is failing – the fix is at the base, not the gate. This is common in Buena Park on gates set into older fences where the gate post was never sized for the load.
Test 3: Gate frame. Place a level against the gate’s top rail and its side stile. If the gate frame itself is out of square – the corners no longer measure equal diagonals – the frame is the problem, and a brace or new hardware won’t fix it. The gate has to be re-squared or rebuilt.
Test 4: Diagonal brace. Look at the diagonal brace. It should run from the bottom hinge side to the top latch side of the gate, not the other way. If it runs the wrong way, it does nothing to prevent sag. If it’s missing, loose, or cracked, that’s the fix.
In most sagging gates, the problem is either hinge hardware or the latch post footing. The fix follows the diagnosis, not the other way around. A gate that’s sagging because the footing is failing will sag again within weeks if you only replace hinges.
Buena Park Climate and Soil: What Makes Fences Fail Here
Buena Park is a mild, sunny climate with dry summers and cooler, wetter winters, and that pattern actually stresses fences more than a harsh climate would. The soil in much of Buena Park is sandy or clay-heavy depending on the neighborhood, both of which have specific problems when it comes to fence post footings.
Sandy soil drains well but doesn’t hold concrete the way dense soil does, so a shallow or under-sized concrete collar in sandy Buena Park soil is far more likely to shift. Clay-heavy soil holds water against the post and rots wood from the bottom up. Neither is a reason not to build a fence in Buena Park; both are reasons the footing has to be right.
Dry summers set up a second problem: wood boards lose moisture and shrink in the summer, then expand in the winter rains. Fasteners that were snug in spring work loose by winter. Boards that were flat in July cup by January. Buena Park fences that were installed tight, with no expansion gap and no finish, warp much faster than fences built with a bit of built-in movement and a proper seal.
Sun exposure matters too. A fence that faces west in Buena Park gets the worst of the afternoon sun, and the sunny side dries faster than the shaded side, causing boards to cup. Southern California’s occasional Santa Ana wind events stress gate posts and panels that were never sized for the load. If a gate faces the prevailing wind, its post needs to be set deeper and thicker than a fence post, or it will lean.
Permit rules matter as well. Buena Park has fence height and setback requirements for property-line fences, and any fence over a certain height or on a slope may require a permit. The safest approach is to confirm the requirements before any structural repair, and to make sure any post that’s reset to a different depth still meets code.
When a Repair Holds and When It Won’t
This is where honesty matters. Not every repair is worth the money. A structurally sound repair is one where the footing is corrected, the post is sound, and the panel isn’t warped from a bad install. That repair will hold. But there are cases when you’re reinforcing a fence that’s statistically going to fail again within 18 months, and it’s better to know that before you spend money on it.
A repair is likely to hold when:
- The post is solid, and the failure is isolated to one footing
- The surrounding posts are stable and the panels are flat
- The fence is under roughly 10-12 years old and built to reasonable standards
- The concrete collar can be properly replaced and drained
A repair is likely to fail again when:
- More than one or two posts show movement – that’s a pattern, not a failure
- The posts are rotten or the boards are cupped and warped from a bad install
- The original footing was shallow and the whole line was built the same way
- The fence is more than 15-20 years old and shows multiple failure modes
If you’re in the second category, patching one post just moves the problem down the line. A full rebuild – or a partial rebuild of the failing section – is a better use of the money, and it lets you fix the footing depth and concrete mix for the whole line at once. In our experience in Buena Park, the fences that fail repeatedly are the ones that were under-built the first time. Rebuilding correctly costs more up front and far less over a decade.
If you’re not sure which category you’re in, get an honest diagnosis before committing. A free estimate should tell you plainly whether the repair holds or whether you’re throwing good money after a fence that’s on its way out.
Common Mistakes to Avoid
- Straightening and re-bracing without recoring the footing. This is the number one mistake. The lean will return faster the second time, and the brace can transfer the load to the panel and damage it.
- Setting posts shallow because the original was shallow. Copying the original shortcut just repeats the failure. Always dig to the correct depth for the fence height and gate load.
- Pouring concrete too wet. A soupy mix is a weak mix. It’s also easy to pour, which is why it’s a common shortcut. Mix firm, tamp out air pockets, and crown the top.
- Skipping the gravel base. No gravel means no drainage, and no drainage means rot at the soil line in Buena Park’s wet winters. It’s a small step that determines the life of the post.
- Replacing a hinge when the latch post is the problem. A sagging gate is usually a footing problem at the latch post, not the hinge. Diagnose before you buy hardware.
- Finishing only one side of the boards. One-sided finish traps moisture and makes cupping worse, not better. Any finish has to go on both sides.
- Ignoring Buena Park permit and setback rules. Resetting a post at a different depth or rebuilding a fence on a property line without confirming the rules can create a compliance problem down the road.
See the difference
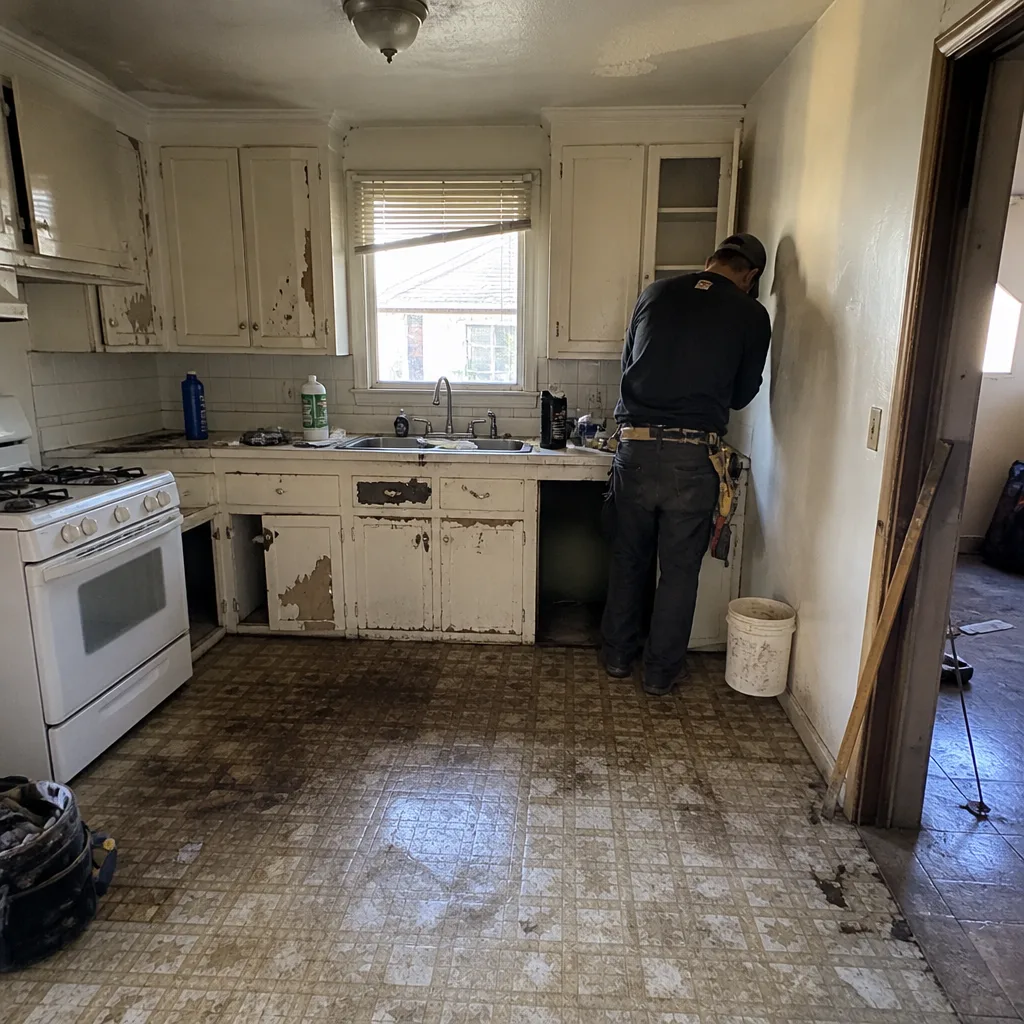 Before
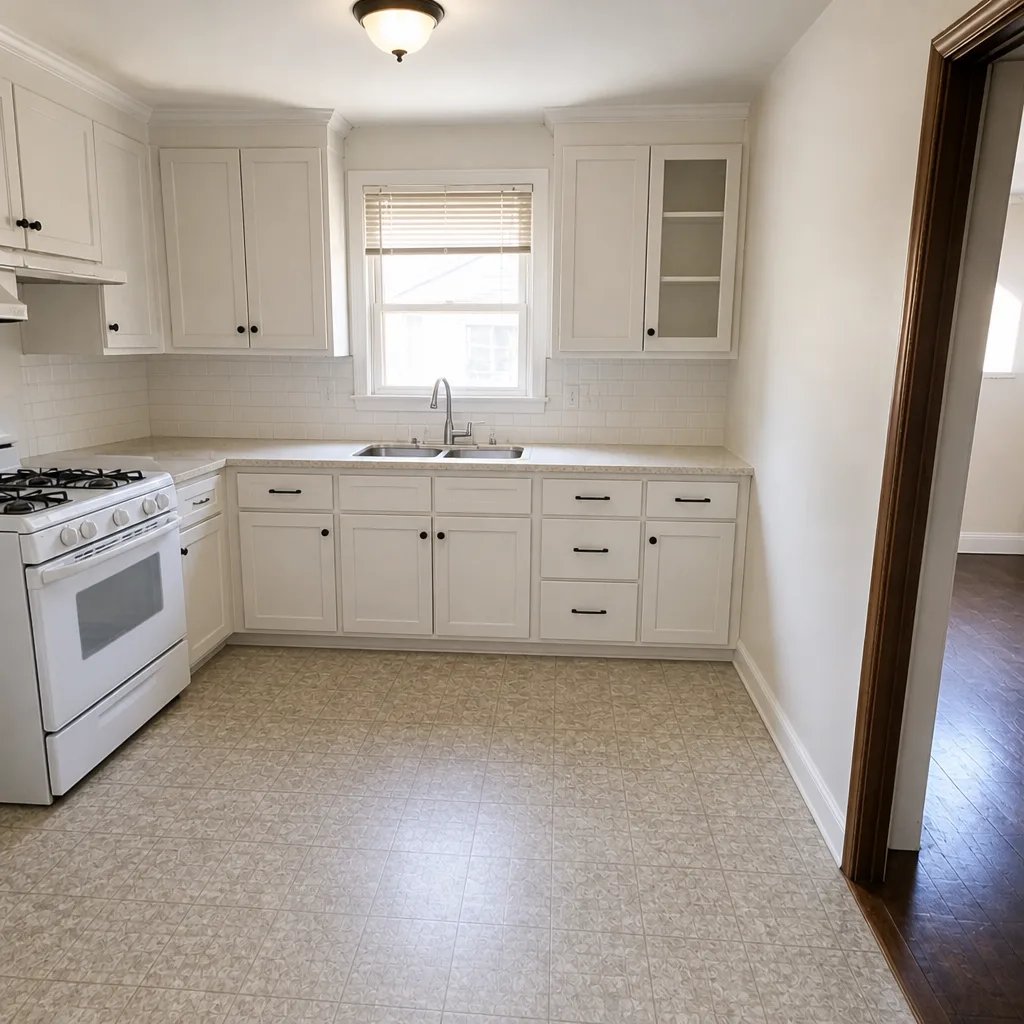 After
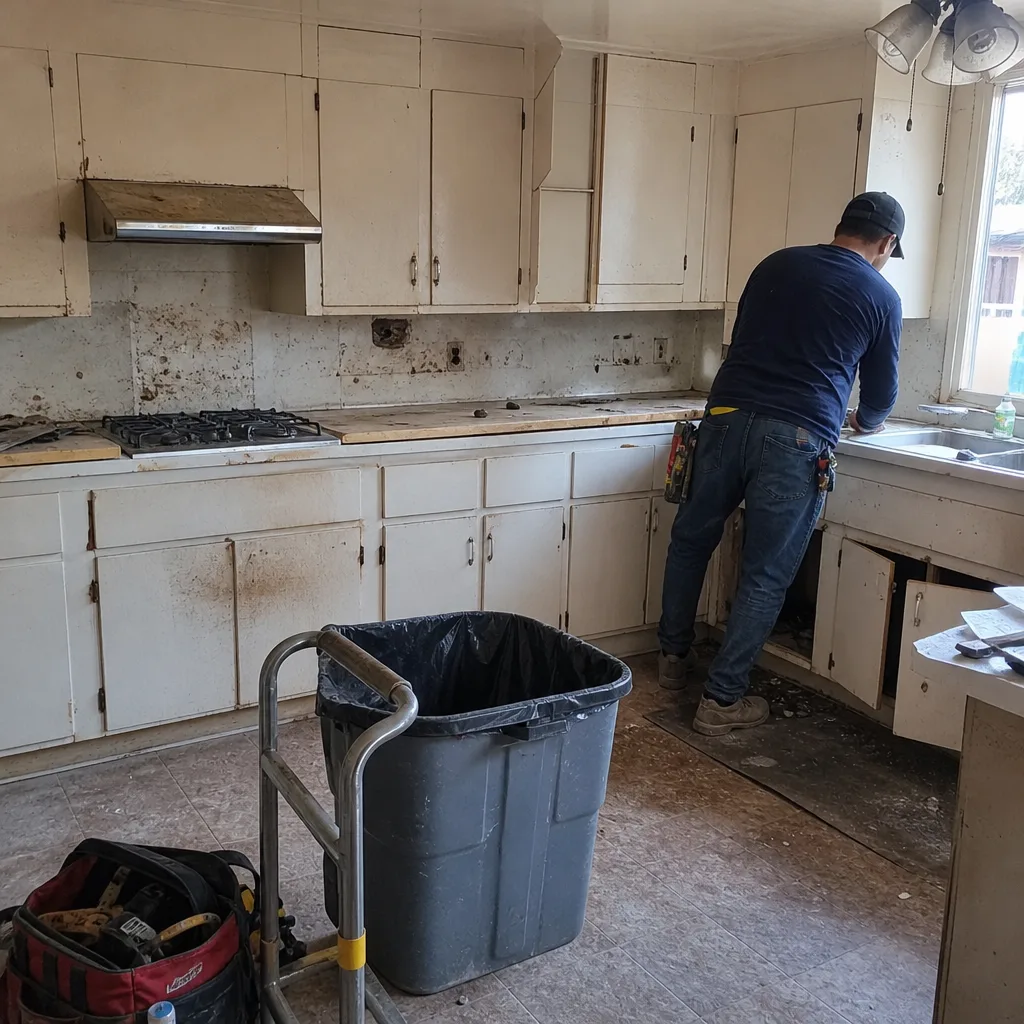 Before
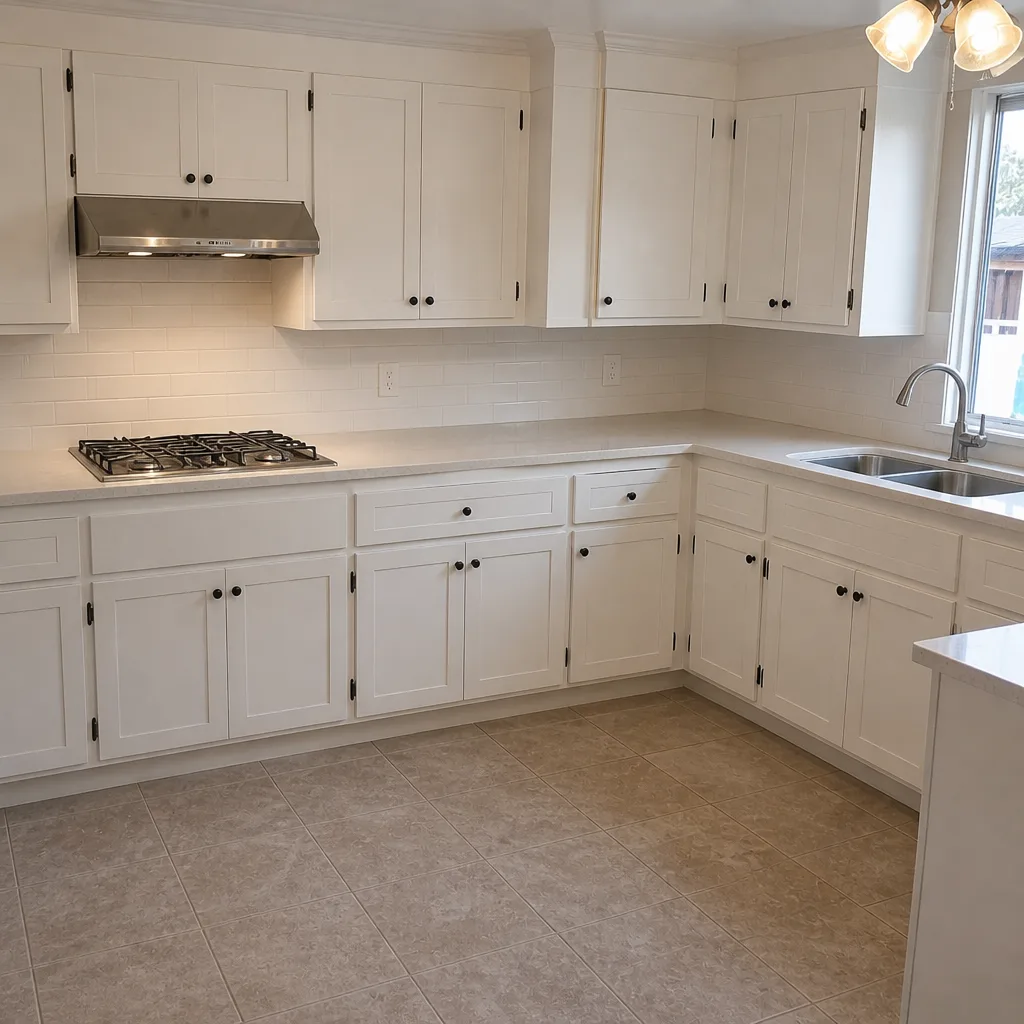 After
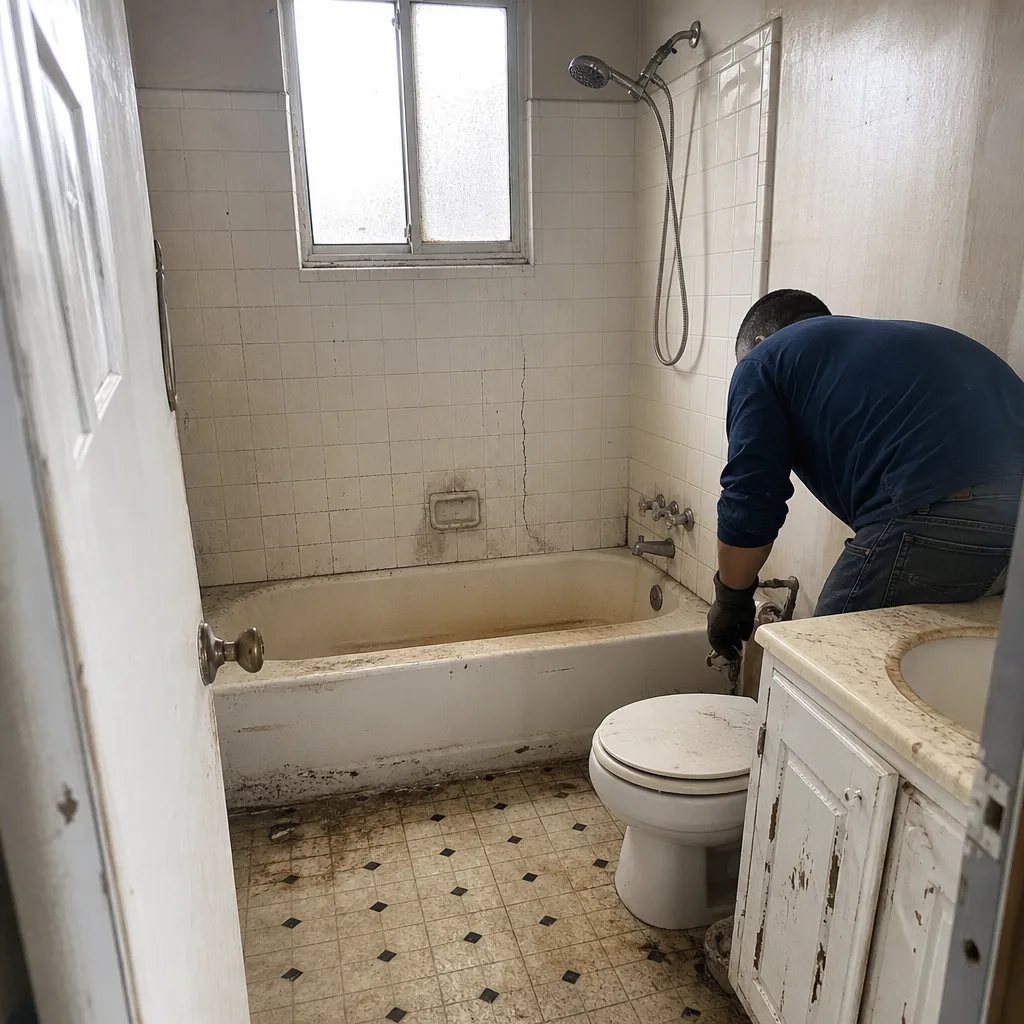 Before
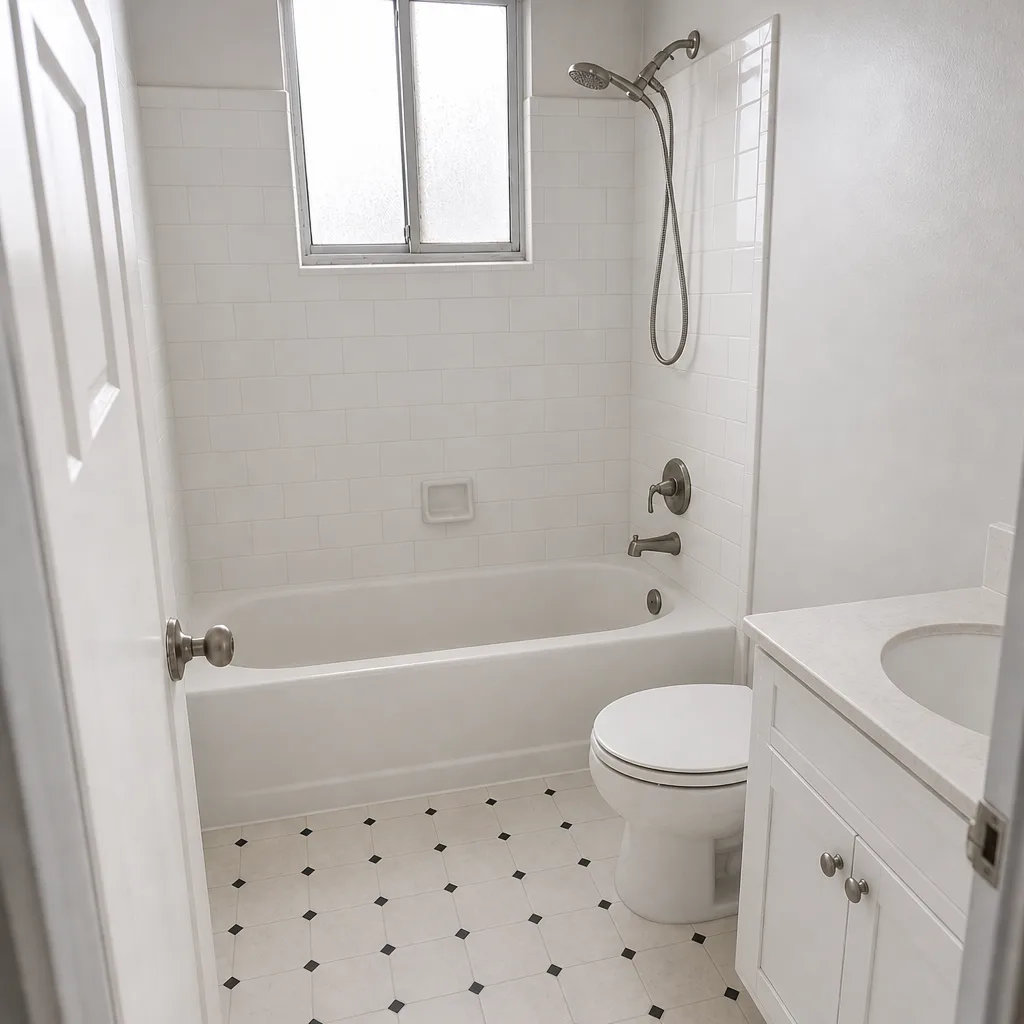 After
When to Call a Professional
Some fixes are DIY-friendly – a stripped hinge, a re-braced gate brace, a coat of finish on both sides. But when a post is genuinely leaning, when a footing needs to be excavated and re-poured, or when a gate has been sagging through one repair already, structural work is the call. A post footing failure that’s repaired wrong is a safety issue: a heavy panel or gate can fall, and a leaning fence line compromises the integrity of the whole run.
Groundwork Construction Co. of Buena Park handles fence installation and repairs across Buena Park, and we offer free estimates to walk the fence line with you and tell you straight whether the repair holds or the fence is due for replacement. Our technicians have up to 12 years of experience, and every project is backed by our 730-Day Done Right Promise – if it’s not done right, we make it right. Calls are answered by a live person, 24/7. Call (833) 522-5059 for a free estimate. Full-scope fencing and paving work is covered under Fence Installation in Buena Park and Driveway & Pavers in Buena Park.
Frequently Asked Questions
Resetting a single fence post in Buena Park typically runs $250-$550 depending on depth, access, and whether the panel needs to be temporarily removed. Full fence replacement runs $25-$60 per linear foot depending on material. Call (833) 522-5059 for an exact quote – estimates are free.
Yes, if the post itself is sound and the surrounding panels are stable. The repair involves excavating the post, removing the failed concrete, re-digging to proper depth, and re-pouring with a gravel base and a correctly mixed concrete collar. If the post is rotted or the panel is warped, a partial rebuild of that section is usually the better call.
At least 24-36 inches for a 6-foot fence in most Buena Park soil, with deeper settings for gate posts and heavy panels. Sandy or clay-heavy soil may require additional depth for stability. The post should be set with 4-6 inches of gravel for drainage and a properly mixed concrete collar.
Boards that cup or warp within two years usually point to one of three things: low-grade green lumber that wasn’t properly dried, a one-sided finish that trapped moisture, or installation that left no room for expansion. Cupping toward the sun is a classic sign of one-sided finish. Warping on the whole panel, rather than individual boards, points to an installation or footing problem.
No. We use upfront pricing so the number you see is the number you pay, and any change to the scope is discussed and approved before work continues. Every project is backed by our 730-Day Done Right Promise. Call (833) 522-5059 to schedule a free estimate.
Where a permit is required for a fence repair or replacement in Buena Park, the local professional handles the permitting and the inspection. Fence height, setback, and slope requirements are confirmed before any structural work begins, so there’s no compliance surprise after the job is done.
The Bottom Line
Almost every fence problem traces back to the footing: how deep the post was set and what the concrete mix actually was. Bracing a leaning post without recoring the footing just moves the failure forward. Diagnose first – footing failure, post rot, or soil erosion – then fix the cause, not the symptom. If boards are warping within two years, look at material grade and one-sided finish. If a gate is sagging, test the hinge, the latch post, the frame, and the brace in that order. And if the fence shows a pattern of failure, rebuilding correctly costs less than repairing repeatedly. When you’re ready to talk it through, Groundwork Construction Co. of Buena Park is here to help.
From foundation to finish line, our team handles Groundwork Construction Co. of Buena Park home services across the area, including Home Additions & ADU in Buena Park and everything in between. Ready to price your project? Call (833) 522-5059 for a free estimate – we’ll walk the fence line, diagnose the real problem, and give you a written quote with no surprises. Built to last, backed in writing.
Written by the team at Groundwork Construction Co. of Buena Park.