Last updated November 18, 2026








Free written scope consultation - allowances, timeline, and change-order rules on paper before a single trade is scheduled
Bathroom Remodeling Troubleshooting: Common Problems and How to Fix Them
Shower tile grout cracking within the first year isn’t a tile problem. It’s almost always a substrate or waterproofing failure underneath the tile, and fixing it correctly means tearing out work that looked perfect on completion day. That’s the part nobody warns you about when you’re picking out fixtures at a Buena Park showroom. The problems that cost the most money don’t show up during construction, when the dust is flying and the crew is still around. They show up 18 months later as soft drywall behind the vanity, grout lines that keep coming back, or a fan that was never moving enough air to begin with. This guide walks through the bathroom remodel problems we troubleshoot most often, how to tell a cosmetic annoyance from a structural red flag, and what a proper fix actually looks like so you can hold a contractor accountable.
Quick Answer
Most post-remodel bathroom problems trace back to one of three things: inadequate waterproofing under tile, an exhaust fan that was never sized to the room’s cubic footage, or a fixture installation that introduced a supply or drainage restriction. Grout cracking, mold at the ceiling, and weak water pressure are symptoms, not the root causes. Catching them early usually means a targeted repair; catching them late means demolition of finished surfaces.
Styles & brands we work with
- Kitchen remodeling
- Bathroom remodeling
- Home additions & ADU
- Roofing
- Windows & doors
- Driveway & pavers
- Fence
Table of Contents
- Grout Cracking: Cosmetic or Structural?
- Exhaust Fan Sizing and What Inadequate CFM Does Over Time
- Why Water Pressure Drops After a Remodel
- Mid-Project Rot, Mold, and Failed Subfloor Discoveries
- Waterproofing Membranes: The Layer You Never See
- The Punchlist Items Homeowners Skip (and Pay For Later)
- Moisture and Climate Realities in Buena Park
- When to Call a Professional
Grout Cracking: Cosmetic or Structural?
Not every crack in a grout line means your shower is failing. But the pattern tells you almost everything. A hairline crack along a single wall-to-wall seam, especially where two different materials meet, is common and usually cosmetic. Grout has some flex, but not much, and it will crack where a backer board seam wasn’t taped and bedded correctly. That’s a maintenance item, not a teardown.
Cracks that branch out, run diagonally, or reappear within weeks of re-grouting point somewhere darker. A diagonal crack in a tile field often means the substrate is moving underneath. In our experience across Buena Park bathrooms, that movement is frequently caused by a missing or improperly installed cement backer board, or by greenboard drywall used as a tile substrate in a wet zone. Greenboard resists moisture on its surface but isn’t a substitute for a true tile backer, and it sags and softens once water finds a seam.
How to Diagnose It
- Press on the tile on either side of the crack. A hollow, drummy sound plus visible flex means the tile isn’t bonded to a solid substrate.
- Look for efflorescence, a white chalky residue at the crack. It signals moisture traveling through the assembly.
- Check the opposite side of the wall if it’s accessible. Soft or discolored drywall confirms water migration, not just surface cracks.
- Note whether the crack reappears after a re-grout within a few months. Recurring cracks mean the cause was never addressed.
The fix depends on the diagnosis. Cosmetic cracks get a proper grout or caulk repair with a flexible sealant at material transitions. Structural cracks get a partial tear-out to the substrate so the waterproofing and backer can be corrected. Grouting over a structural failure is the single most common mistake we see, and it buys you a few months before the damage spreads.
Exhaust Fan Sizing and What Inadequate CFM Does Over Time
The exhaust fan is the most under-engineered component in most bathroom remodels. Homeowners remodel the shower, the vanity, the lighting, and then keep the fan that was already there, or install a quiet “decorative” unit the supply house had in stock. That’s how bathrooms end up with chronic ceiling mold, peeling paint, and a persistent musty smell nobody can trace.
Fan sizing comes down to cubic feet per minute, or CFM, matched to the room’s volume. The standard rule is 1 CFM per square foot of floor area for bathrooms up to 100 square feet. Larger bathrooms use the fixture-count method: add up the CFM requirements of the tub and shower fixtures and size the fan to cover the total. A Buena Park bathroom with a 60-square-foot footprint and a standard shower needs roughly 60 to 80 CFM minimum, and we often spec higher for bathrooms with a separate tub, a windowless layout, or heavy shower use.
What Inadequate CFM Actually Does
- Moisture lingers after showers, raising indoor humidity above 60% and feeding mold in ceiling corners and behind the toilet.
- Paint and drywall paper absorb moisture and peel, especially on ceilings above the shower.
- Wood vanity frames and door edges swell and delaminate over a couple of seasons.
- Mirrors fog and stay fogged, a smaller annoyance that signals a bigger ventilation problem.
- Fan motors run louder as static pressure backs them up, so a cheap fan gets louder the harder it works.
Rated CFM also drops the moment the fan is ducted. A 110 CFM fan tied to a long, kinked flexible duct loses a significant share of its rated airflow. Smooth rigid duct, a short run, and an insulated exterior termination are what actually deliver the number on the box. If your remodel is done and the bathroom still fogs up, check the duct run before replacing the fan.
Why Water Pressure Drops After a Remodel
A pressure drop that appears right after a remodel is almost never the new showerhead. It’s usually something introduced during the project: a partially closed shutoff valve, a supply line that got crimped behind the wall, debris pushed into an aerator or cartridge, or a new mixing valve installed with its stop valves not fully open. In our experience, a large share of the “low pressure” service calls after a Buena Park bathroom renovation trace back to a shutoff that was never opened all the way.
Step-by-Step Pressure Diagnosis
- Check other fixtures first. If the kitchen sink pressure is normal but the shower is weak, the issue is local to the bathroom, not the main line.
- Inspect and open the shutoff valves. Angle stops under the sink and the stops inside the shower valve trim should be fully open. A half-open ball valve can cut pressure noticeably.
- Unscrew and clean the aerator and showerhead screen. Construction debris, solder flecks, and pipe tape fragments collect there during the project.
- Look for a kinked flexible supply line behind the vanity or toilet. Flexible connectors that were bent too sharply restrict flow.
- Call a licensed plumber if the pressure drop is whole-bathroom and the stops are open. That points to a cartridge, a mixing valve issue, or a restriction inside the wall.
Pressure problems are the most misdiagnosed item on this list because the visible cause (a new fixture) isn’t the real one. Fix the flow restriction before you buy a “high pressure” showerhead, which doesn’t solve the underlying problem and can mask a valve issue for months.
Mid-Project Rot, Mold, and Failed Subfloor Discoveries
This is where good remodels go sideways. The demo comes out, and behind the old tile is black mold, a soft subfloor, or a joist that has been soaking for years. The fear is that the whole project and budget are now out the window. They don’t have to be, but how you handle the discovery in the first 48 hours matters enormously.
How to Handle a Discovery Without Blowing the Budget
- Stop and document before anyone touches it. Photograph the rot, mold, and subfloor condition. This protects you and gives the contractor a clear basis for a repair scope.
- Get a written change order with line items. A proper change order specifies what gets removed, what gets replaced, materials, labor, and a revised total. Verbal “we’ll fix it, it’s extra” is where budgets disappear.
- Separate the emergency work from the optional work. Structural repair and mold remediation are mandatory. A new tile pattern or upgraded vanity is not. Keep the two scopes distinct on the invoice.
- Find out if it’s covered. Some water damage and rot qualifies for a homeowner’s insurance claim. Get the documentation together before you commit to paying out of pocket.
- Get a second opinion on scope if the number feels large. A failed subfloor repair has a defined, estimable range. A licensed contractor should be able to show you what’s being replaced and why.
Mold on framing needs to be treated, not painted over. If the wood is structurally sound after remediation, it stays. If it’s soft, it gets sistered or replaced. A good contractor will walk you through that decision with the wall open, not after it’s closed. Upfront pricing means the change order number is what you pay, not an opening bid.
Waterproofing Membranes: The Layer You Never See
Almost every expensive, late-emerging bathroom problem we troubleshoot traces back to waterproofing that was installed wrong or skipped. Tile and grout are not waterproof. Grout is porous, which is why it needs sealing, and a correctly built shower relies on a waterproof layer behind the tile, or a surface-applied membrane directly under it, to shed water to the drain.
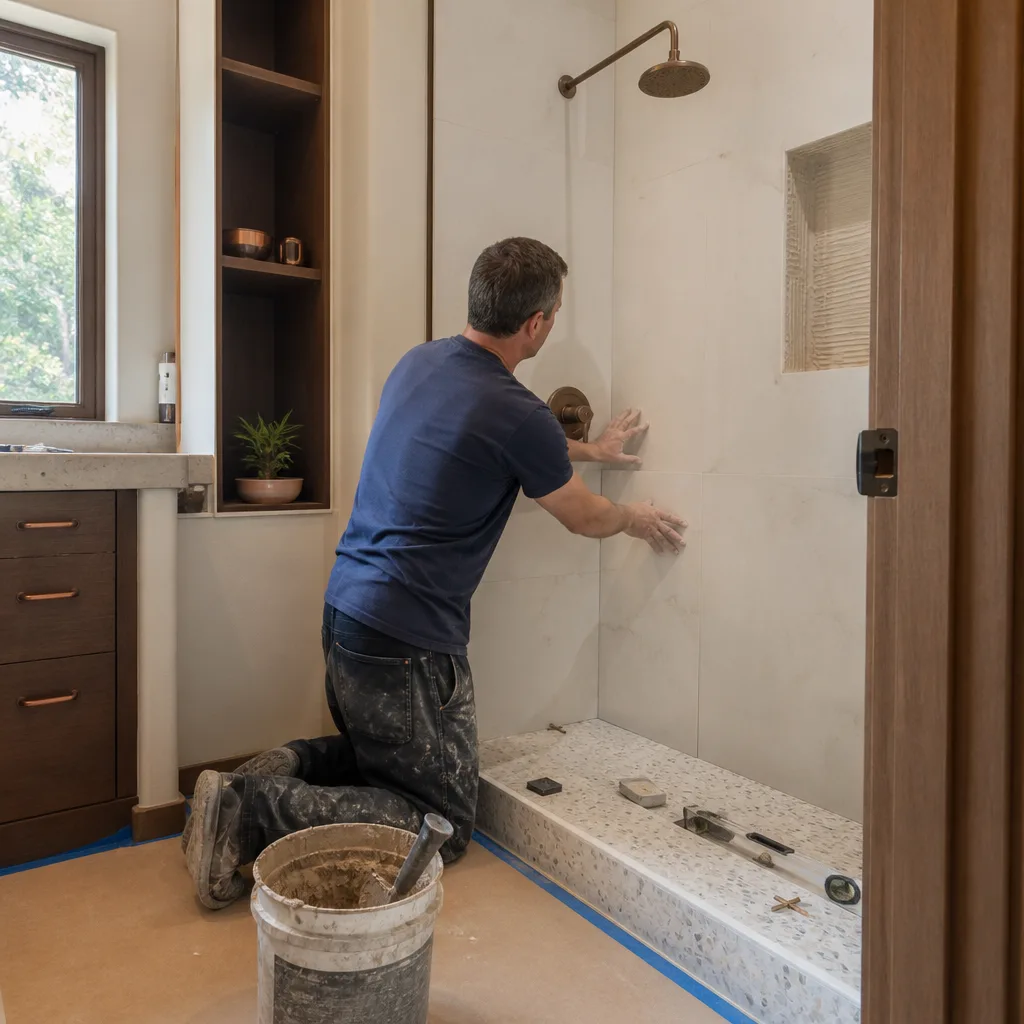
Two approaches dominate. The traditional method puts a PVC liner on the floor under a mortar bed, with a vapor barrier behind the backer board on the walls. The modern method uses a liquid or sheet-applied membrane over the entire wet area, walls and floor, tied continuously into the drain. Both work when done right. They fail when the details are ignored: no pre-slope under the liner so water pools, membrane cut short of the curb, backer board joints not taped and sealed, or a bench and niche that break the continuity of the membrane.
What a Correct Waterproofing Assembly Requires
- A continuous, unbroken membrane across the entire wet area, terminated properly at the drain, curbs, and wall transitions.
- A pre-sloped floor under any liner so water moves toward the drain instead of sitting.
- Taped and sealed backer board seams before any membrane or tile goes on.
- Flood testing a shower pan before tile: the assembly holds water for a set period and shows no drop.
- Photographs of the membrane before tile, which a trustworthy contractor will provide on request.
Ask your contractor for photos of the waterproofing before tile gets installed. If they can’t or won’t show you, that tells you something. A shower pan that floods and holds is the single best proof point in the whole build, and it costs nothing to verify while the wall is still open.
The Punchlist Items Homeowners Skip (and Pay For Later)
The final walkthrough is when homeowners are exhausted and want the crew gone. That’s exactly when a stack of small items gets waved through because they seem minor. Six months later, those items are outside the warranty window and the homeowner is paying a service call to fix something that was visible on day one.
Items You Should Never Accept as “Fine as-is”
- Caulk lines at the tub and shower base. A gappy or thin caulk bead is the entry point for water behind the tile. It should be a continuous, fully adhered bead.
- Re-caulked base at the toilet. A toilet that rocks, or a missed caulk seal, is a slow leak waiting to rot the subfloor.
- Drain and supply access panels. Confirm they exist, are sealed, and aren’t blocked by cabinetry. You’ll need them later.
- Doors and drawers that rub. A vanity door that rubs is either a hinge adjustment or a sign of settling, and both are the contractor’s job, not yours.
- Any paint or drywall touch-ups. Moisture-resistant paint on the bathroom ceiling and walls matters, and a skipped coat shows up as peeling within a year.
- The final plumbing test under load. Run every fixture, fill the tub, run the shower, and check underneath for any sign of a leak before you sign off.
Ask for the punchlist in writing, walk it with the contractor, and confirm each item is closed before final payment. On any project with a real workmanship guarantee, those items are covered, but you’ll still spend the time coordinating them. Getting them right at the walkthrough is the cheapest five minutes you’ll spend on the remodel.
Moisture and Climate Realities in Buena Park
Buena Park sits close enough to the coast that the marine layer keeps our indoor humidity higher than inland buyers expect, especially in the spring and early summer mornings. That matters for bathroom ventilation. A fan that works in Riverside may not keep up with a bathroom in Buena Park where the window stays closed half the year and the marine layer dumps damp air into the room before the sun burns it off.
The other local reality is housing stock. Many Buena Park homes were built in the mid-century era when bathrooms were small, fans were optional, and tile was set directly to drywall. We regularly see failed waterproofing on those older builds when a remodel exposes what’s underneath. California’s building code for bathroom ventilation is also straightforward: if there’s no operable window, the bathroom needs a mechanical exhaust fan ducted outdoors, and many of the homes we work in have a fan that was either ducted into the attic or never adequately sized to begin with.
If you’re remodeling a home in Buena Park or the surrounding neighborhoods and the existing fan duct runs into the attic, budget for correcting that during the project. It’s cheaper to run new insulated duct to the exterior while the ceiling is open than to chase moisture damage later. The same diligence applies to our other trades, which is why we keep the approach consistent from Groundwork Construction Co. of Buena Park home projects all the way through outdoor work like Driveway & Pavers in Buena Park and Fence Installation in Buena Park.
See the difference
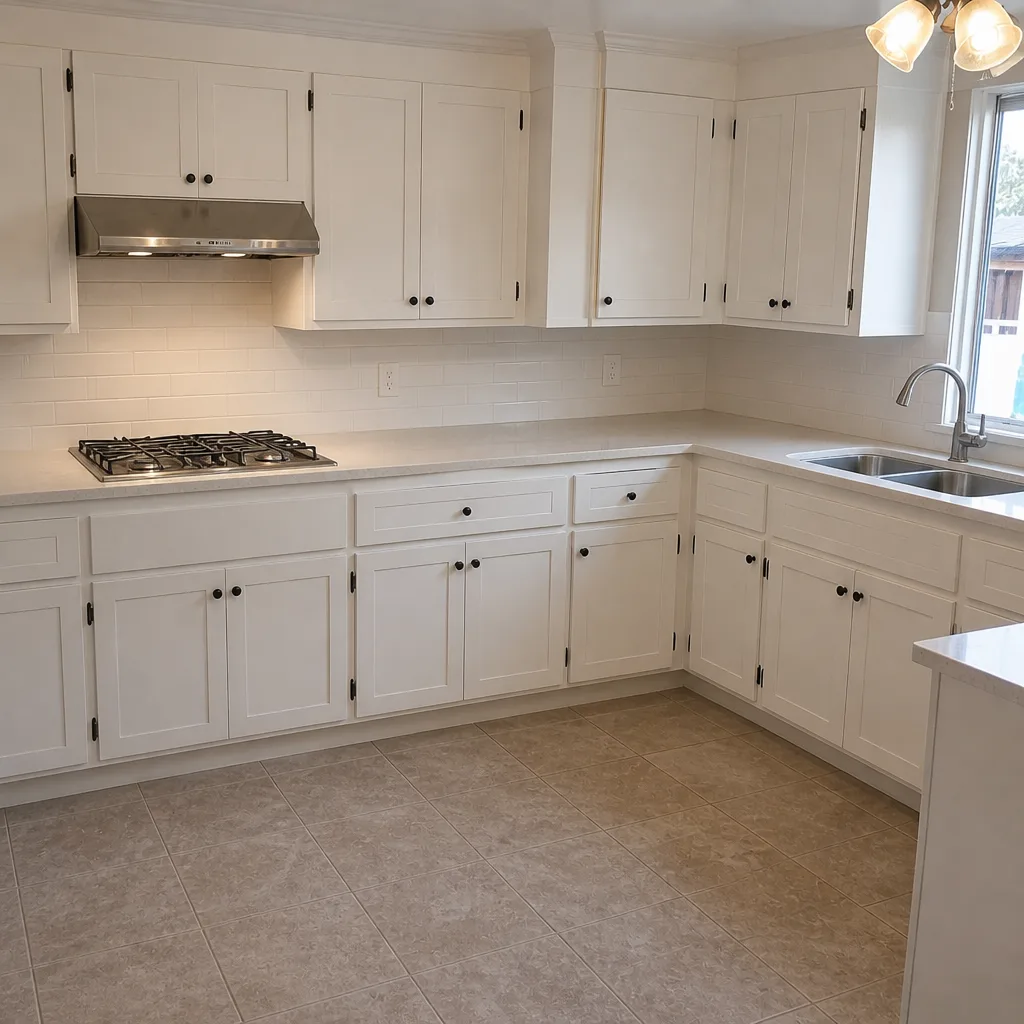
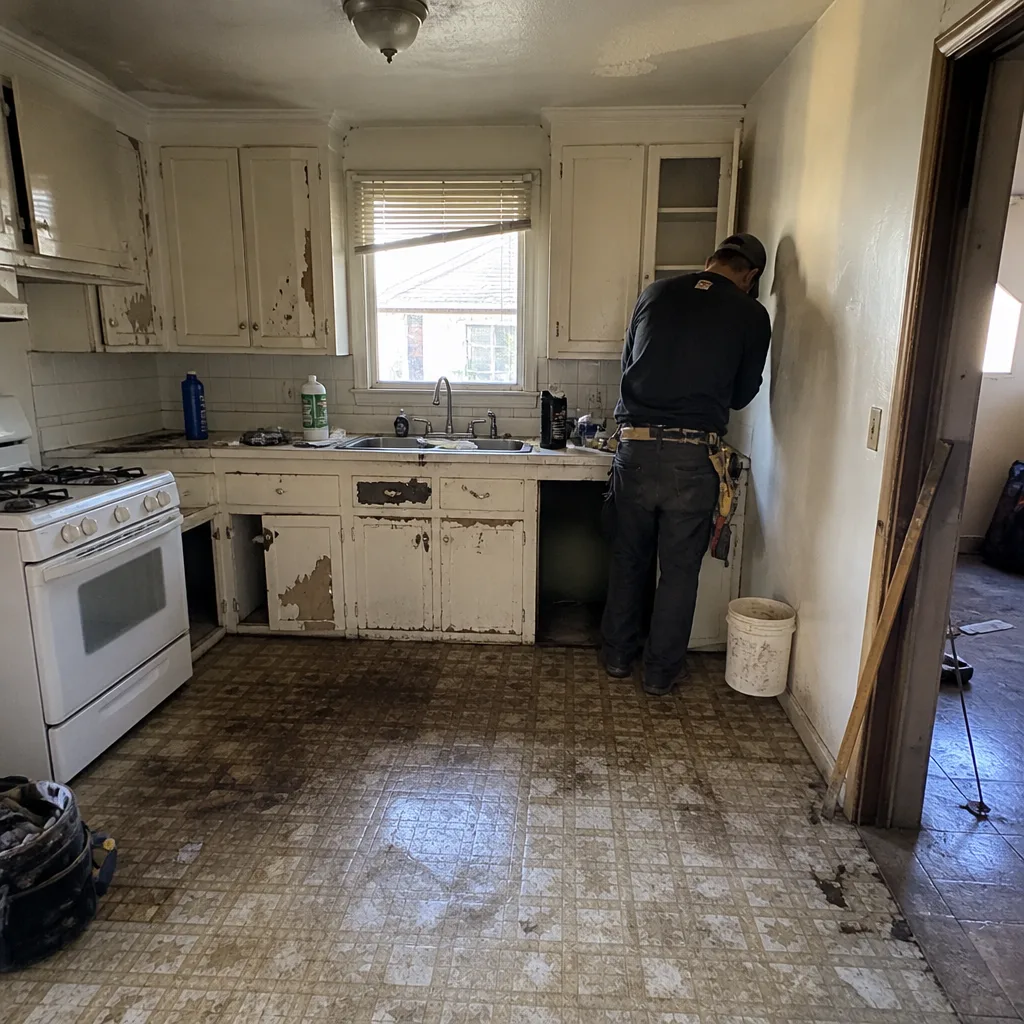 Before
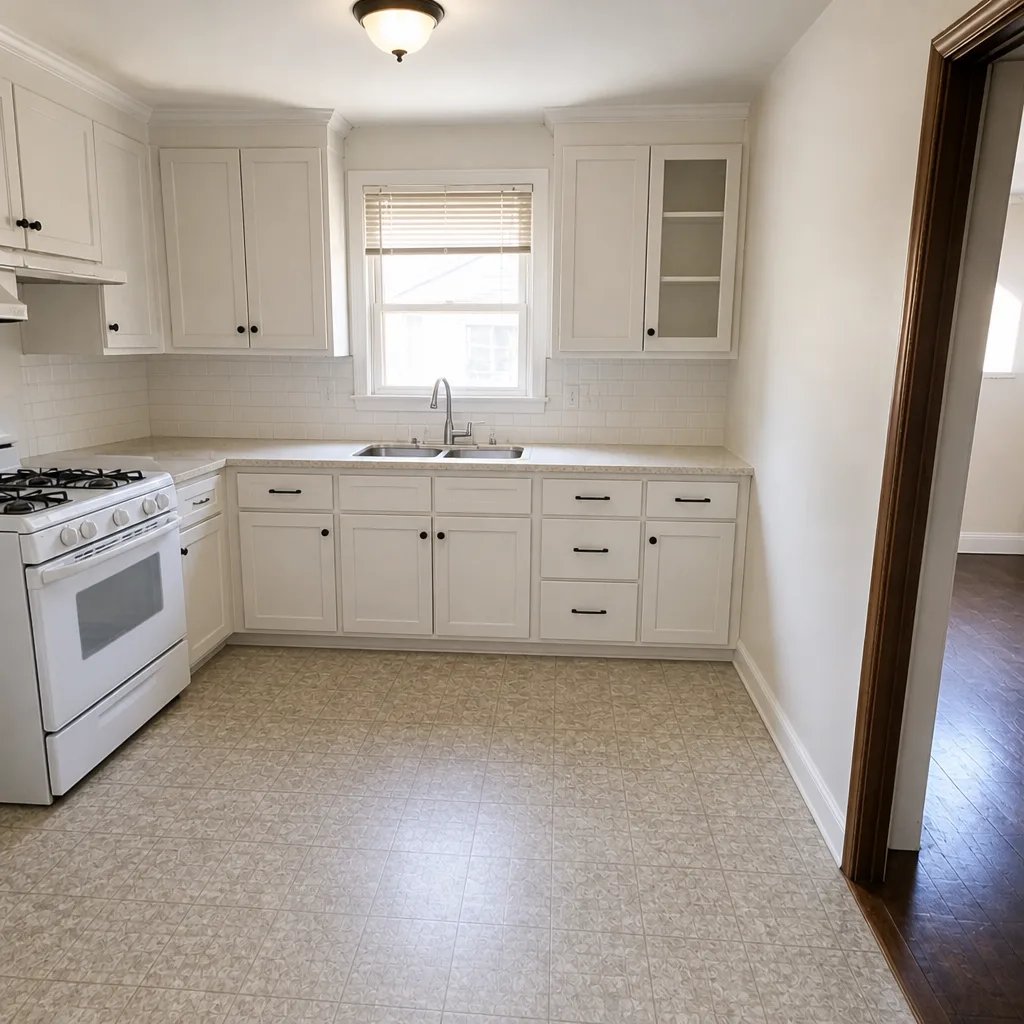 After
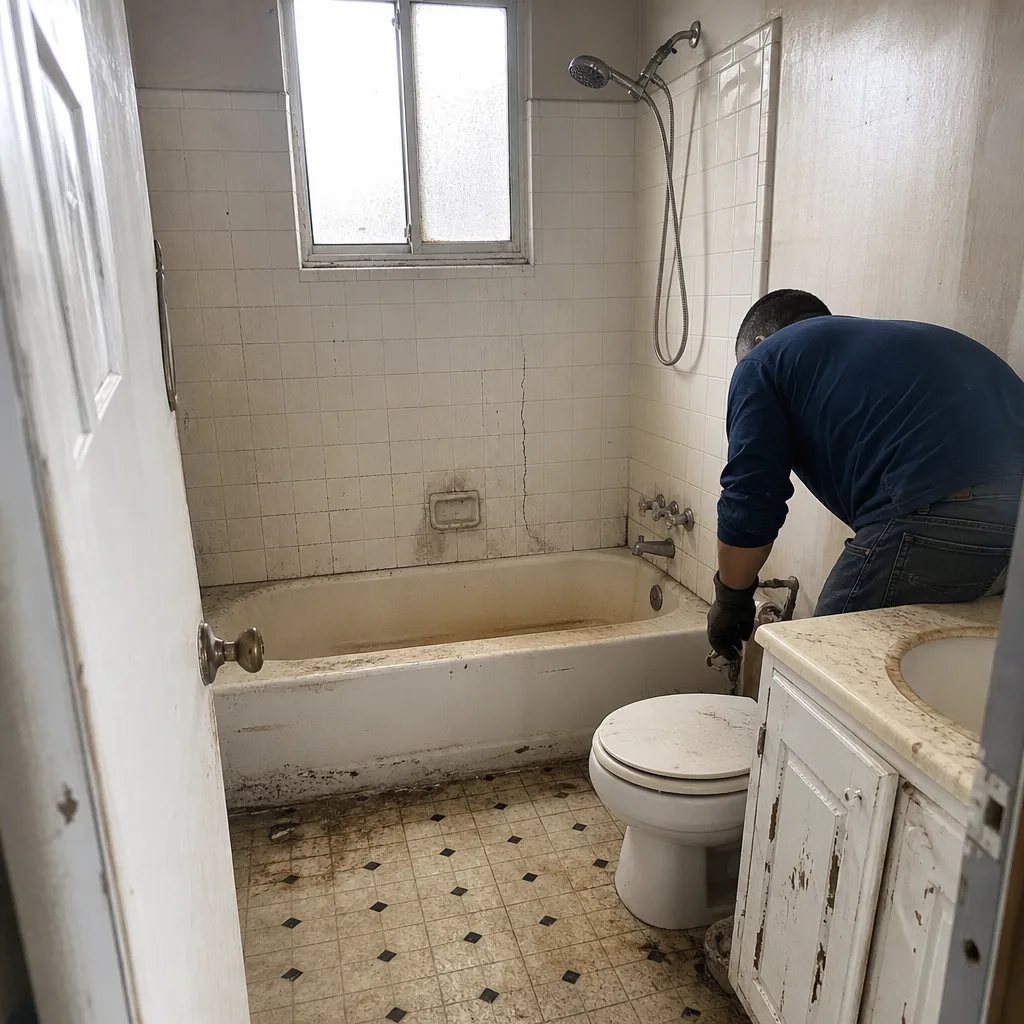
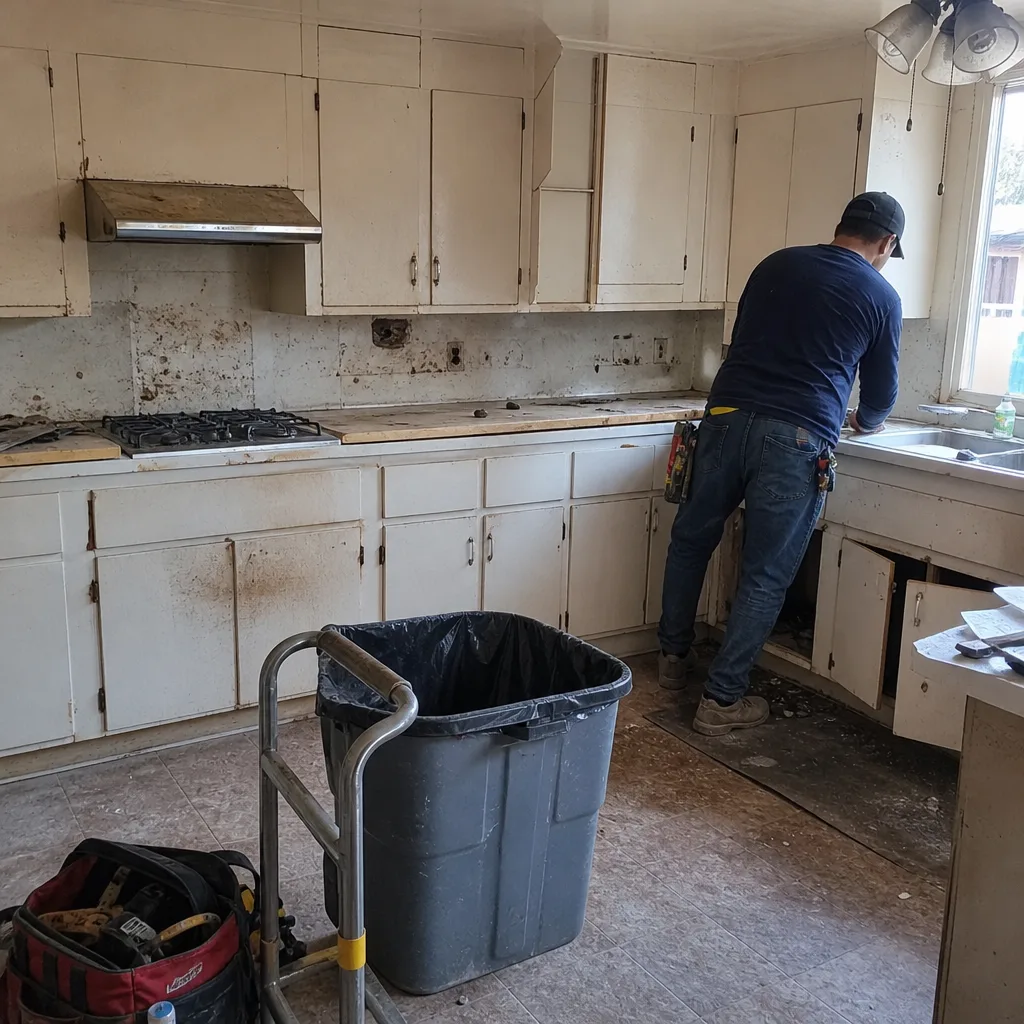 Before
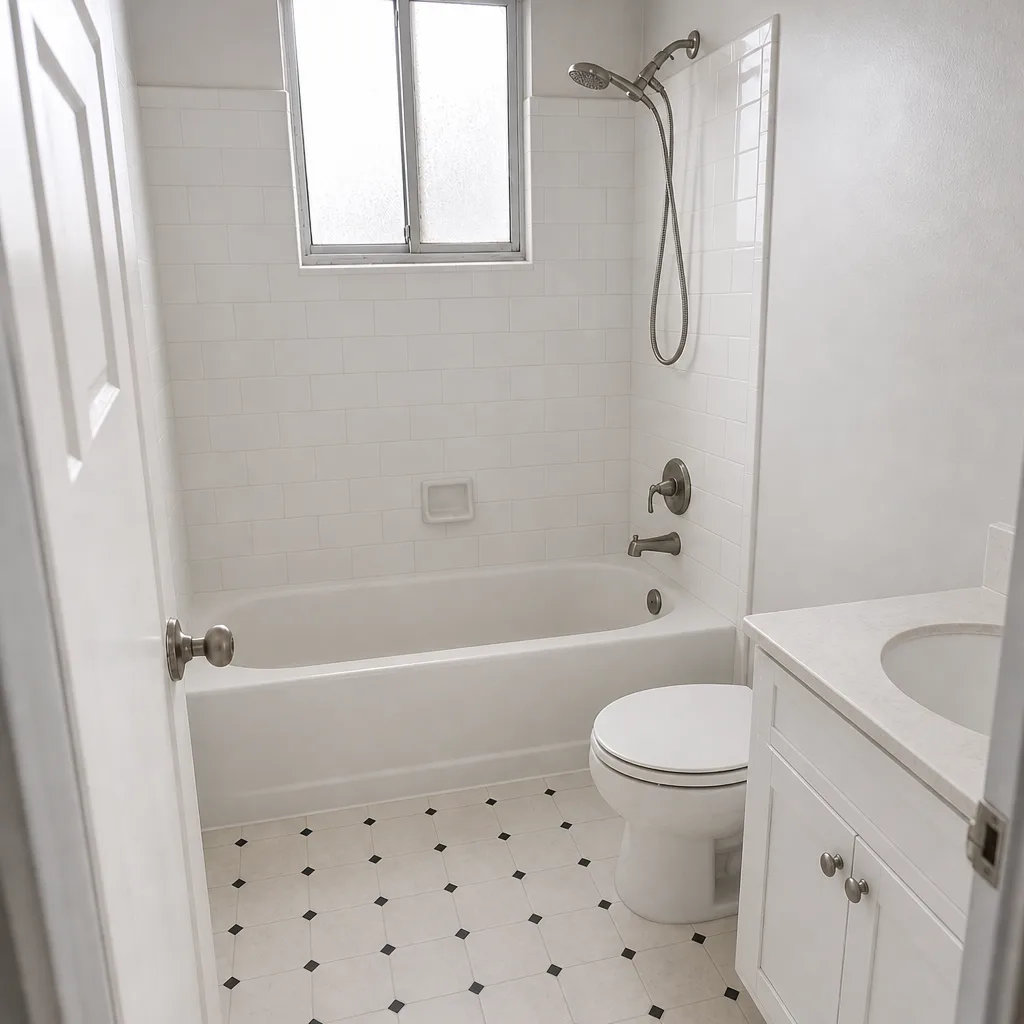
 After
 Before
 After
Common Mistakes to Avoid
- Re-grouting over a failing substrate. If the tile flexes or the crack returns, grout is the wrong fix. Tear out to the substrate and correct the waterproofing first.
- Keeping the old exhaust fan in a remodeled bathroom. The fan is the cheapest line item and the most expensive to get wrong. Match CFM to the room’s volume and duct it to the exterior with smooth rigid pipe.
- Assuming new fixtures caused a pressure drop. Check the shutoff valves, aerators, and supply lines before you buy anything. The restriction is usually upstream.
- Accepting a verbal change order for a mid-project discovery. Get the scope, materials, and price in writing before the repair is done. This is where a no-hassle upfront pricing process earns its keep.
- Signing off on the punchlist without a leak test. Run every fixture under load and check under the vanity, tub, and toilet before final payment. It’s a five-minute test that saves thousands.
- Skipping the waterproofing photos. Ask for evidence of the membrane before tile. If the contractor can’t provide it, that’s a signal worth acting on, not a request worth dropping.
- Letting the fan duct terminate in the attic. Common in older Buena Park homes and a direct path to attic mold. It should vent outside, insulated, with a proper termination.
When to Call a Professional
Some issues are worth a service call on their own. Call a licensed professional if grout cracks recur within months, if you find soft drywall or visible mold behind a wall, if water pressure drops across an entire bathroom after a remodel, or if the shower pan holds water or drains slowly. Any of those signals confirm a problem a caulk gun and a new fan won’t solve. Structural repair of a failed subfloor, mold remediation behind tile, and correcting an inadequate waterproofing assembly all require a licensed contractor and, where code requires it, a permit and inspection. If you’re remodeling and the wall is already open, that’s the moment to fix the underlying issue rather than tiling over it. Groundwork Construction Co. of Buena Park offers free estimates in Buena Park, backs every project with a 730-Day Done Right Promise, and answers calls with a live person 24/7. Call (833) 522-5059.
If your project has grown beyond the bathroom, it’s worth knowing that the same approach applies whether you’re planning Home Additions & ADU in Buena Park or a smaller interior update. We build from foundation to finish line, and the waterproofing and ventilation standards don’t change based on the size of the job.
Frequently Asked Questions
Recurring grout cracks almost always mean the substrate underneath is moving or the waterproofing is compromised, not that the grout itself failed. Grout is rigid; if the tile and backer board flex, any patch will crack. The correct fix is to identify the movement source, which usually means opening a section of the wall to inspect the backer board and membrane.
Use 1 CFM per square foot of floor area for bathrooms up to 100 square feet, and the fixture-count method for larger rooms, adding up the CFM requirements of all tub and shower fixtures. A 60-square-foot Buena Park bathroom with a standard shower generally needs at least 60 to 80 CFM. Account for the marine-layer humidity by choosing smooth rigid duct with a short, insulated run to the exterior; rated CFM drops with every bend and every foot of flexible duct.
A post-remodel pressure drop is usually a shutoff valve that wasn’t fully reopened, a kinked flexible supply line, or debris lodged in an aerator or valve cartridge. Check those first. If the entire bathroom is weak and the shutoff stops are fully open, it points to a mixing valve or cartridge issue that a licensed plumber should diagnose.
No. Mold behind a bathroom wall during demolition is common, especially in older Buena Park homes, and it’s a scoped-and-priced repair, not a project-ending event. Get a written change order separating the mandatory remediation and structural repair from optional upgrades, document the condition with photos for insurance, and proceed. The budget survives when the scope is documented before work continues.
Cost depends entirely on how far the failure traveled. A partial tear-out of one wall typically runs far less than a full shower rebuild, but water that reached framing or the subfloor adds remediation and structural repair to the total. The honest answer is that pricing has to follow a real inspection, so get a written, line-item estimate in person rather than a phone number. Call (833) 522-5059 for a free estimate; the technicians are experienced in diagnosing exactly this kind of failure.
Plumbing, electrical, and structural changes generally require a permit, while cosmetic work like paint and tile replacement often does not. The scope of what’s permitted depends on the project, and a licensed contractor will know the local requirements and pull the correct permits. Bring the local pro in early, before demolition, to scope the permit needs accurately.
The Bottom Line

The expensive bathroom remodeling problems aren’t the ones you see during construction. They’re the waterproofing membrane installed without a pre-slope, the exhaust fan sized for a hallway, and the shutoff valve nobody reopened. Diagnose by pattern, not by symptom: recurring grout cracks point to substrate movement, pressure drops point upstream of the fixture, and mold points to ventilation that never worked. Get the change orders in writing, ask for waterproofing photos, test every fixture before you sign off, and treat the 730-Day Done Right Promise as the standard, not the hope. The same care applies to our wider work, from whole-home projects to outdoor builds under our fence and paver partners like Unilock and Techo-Bloc. Call (833) 522-5059 to schedule your free estimate and design consult with Groundwork Construction Co. of Buena Park.
Written by the team at Groundwork Construction Co. of Buena Park.